Making simple PLA filament with the 3DEVO Composer 450
Making filament for 3D printing is fundamentally not that hard. You take plastic pellets, mix them with some pigments, melt and feed them through a nozzle, and spool everything up. In this video, we’ll take a look at the relatively simple process of extruding filament from virgin plastic pallets but also quickly touch the challenges of recycling failed prints into a new spool of material which will be the content of the next video in this series. If you don’t want to miss that, make sure to be subscribed.

PLA re-grinds
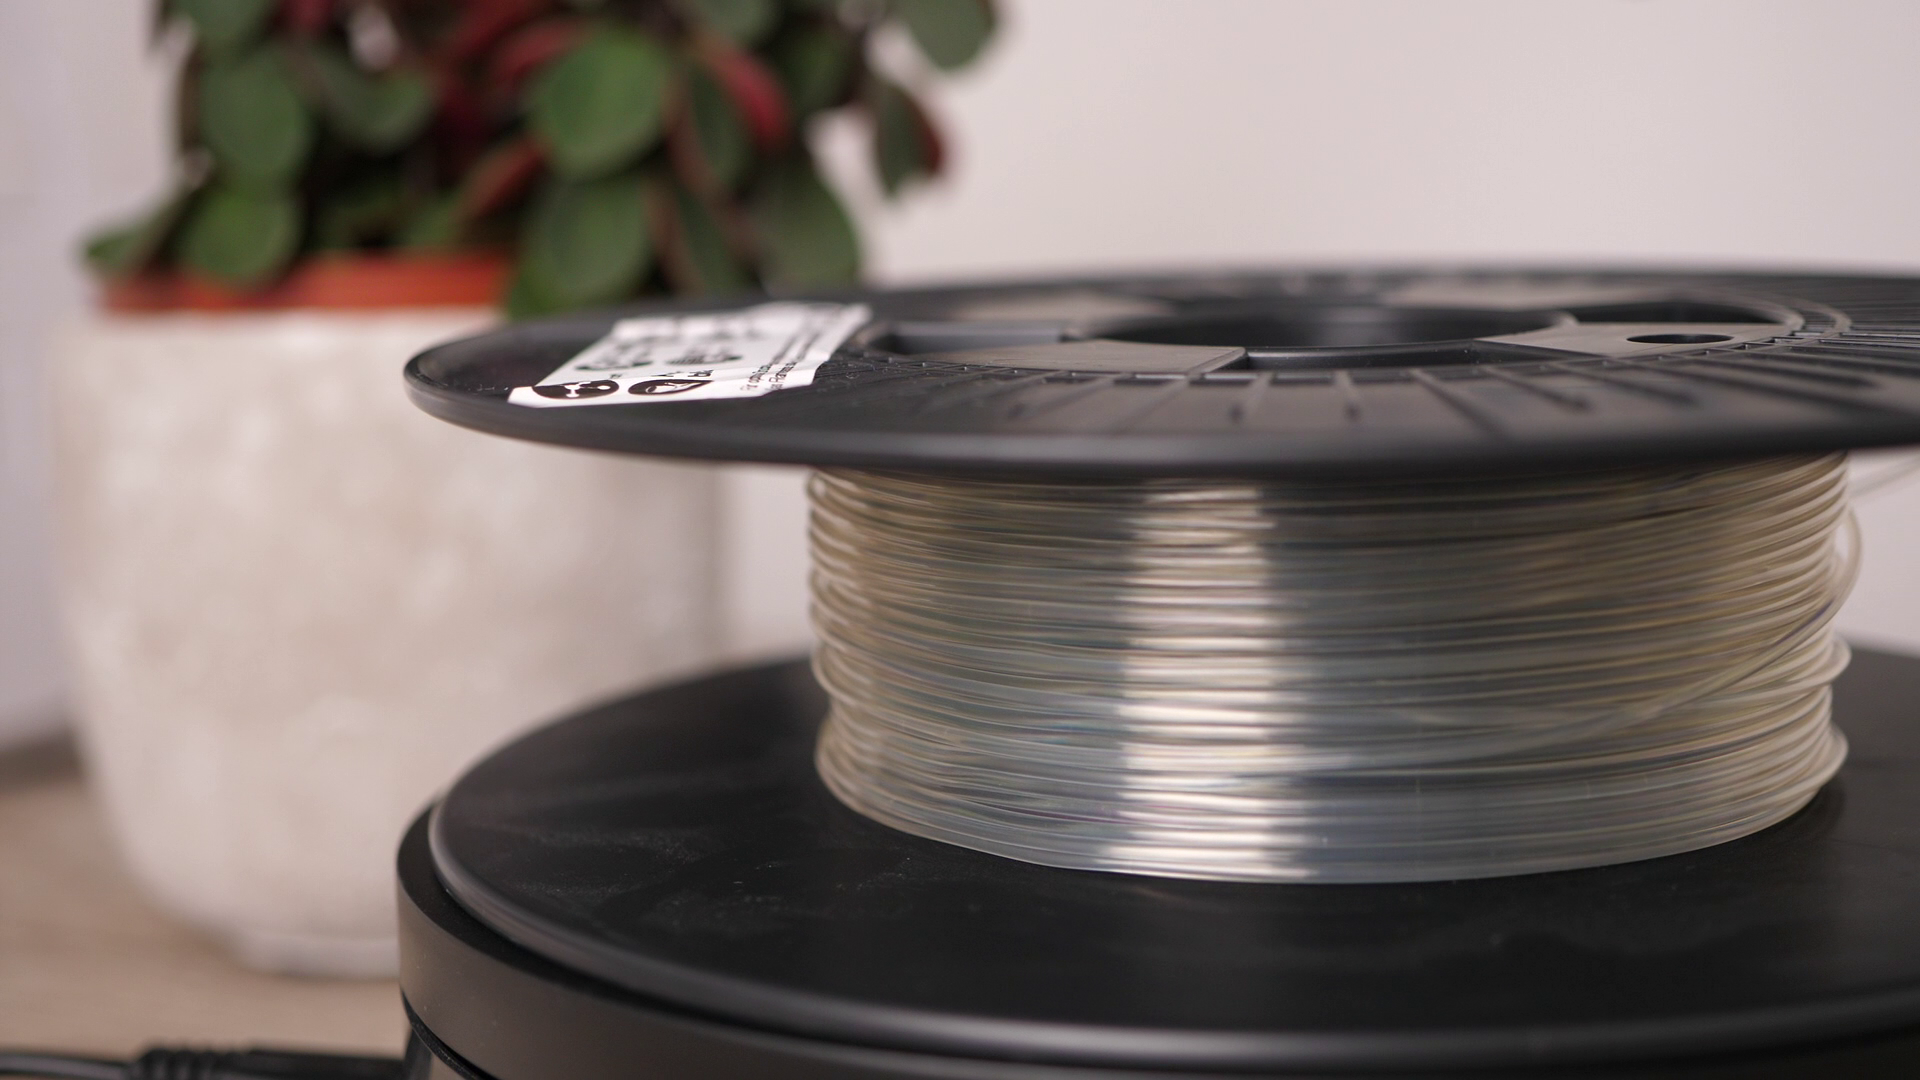
The raw material for most 3D printing filament comes in the form of these plastic pellets. In this case, it’s PLA, though not all PLAs are equal. More precisely, this right here is NatureWorks 4043D PLA, a pretty common, so-called material grade used to manufacture 3D printing filaments. Depending on your application, you can choose between a ton of various grades differing in properties in our case, especially melt flow index which is a measure of the viscosity of the melt. A low melt flow index means high viscosity and is what you want for extrusion because the filament needs to keep its shape. A high melt flow index means a low viscosity and is, for example, used in injection molding, where the material needs to flow into every last bit of the mold easily.

NatureWorks 4043D PLA pellets
Let’s first make the most simple type of filament – Natural PLA without any color or other additional additives besides what the manufacturer put in. I weigh up a bunch of pallets and toss them into the hopper of the 3DEVO Filament Composer 450 that 3DEVO kindly lent me for a couple of months for my filament making and recycling experiments. Then I simply select the extrusion template and wait for the machine to heat up. Once the selected temperatures in the four heating zones are reached the machine automatically starts extruding. That is pretty important because polymers degrade when they are exposed to high temperatures for longer periods of time and can potentially clog the extruder if the material is not constantly moved through it. Honestly, that’s also happened to my Filastruder and Mahor pellet extruder while experimenting with extruding shredded PET bottles because I wasn’t aware of the severeness.
After a couple of turns of the feeding screw, the material starts coming out of the nozzle. Very interestingly – this nozzle doesn’t have the diameter of the filament you want to make, but with its 4mm diameter is quite a bit bigger.

Molten PLA coming out of the 4mm nozzle
The reason for that is, that 3D printing filament is usually not directly extruded into shape, but a puller wheel is actually dragging the material to its final diameter that is adjusting the speed at which it’s pulling depending on the diameter measured by an optical sensor. This way the machine can compensate for not perfecty equal extrusion and die swell.

Puller wheels
To make sure that the filament doesn’t get squished from the puller and to make sure that it doesn’t just droop down after it leaves the nozzle, it gets cooled by two fans that blow on it. Since I had another material in the extruder before adding the PLA, I’m first purging that out, and during this waiting time, the temperatures within the whole machine stabilize to give us a more precise filament diameter in the end.

From top to bottom: Nozzle, cooling fans, optical sensor, puller wheels, positioning lug
Once PLA is coming out of the nozzle and the diameter stabilized, we can continue with spooling. You can spot when the other material is coming out of the nozzle because the HDPE that was in the machine before crystalizes into a white filament, whereas PLA remains mostly transparent. I put an old empty roll on the holder for spooling, put it into the machine, and start the spooling wizard. I quickly snap off the filament, drag it through the positioning lug and a small hole on the spool and then start the winding process. While the spool starts turning, I bend over the end of the filament so that the material doesn’t come off the spool. And now we wait. The 3DEVO Composer continuously adds new pellets through the hopper into the extruder, where the 3-zone compression screw first feeds it, then compresses and starts to melt it and finally fully melts and especially homogenizes it the so-called metering zone before it leaves the nozzle. Just as an interesting side note – you might think that the material primarily melts due to the heaters around the barrel, but especially in the metering zone at the end, a significant amount of heat is internally generated just by the friction and the shear motion that the particles and also the melt does.

Starting the spooling process
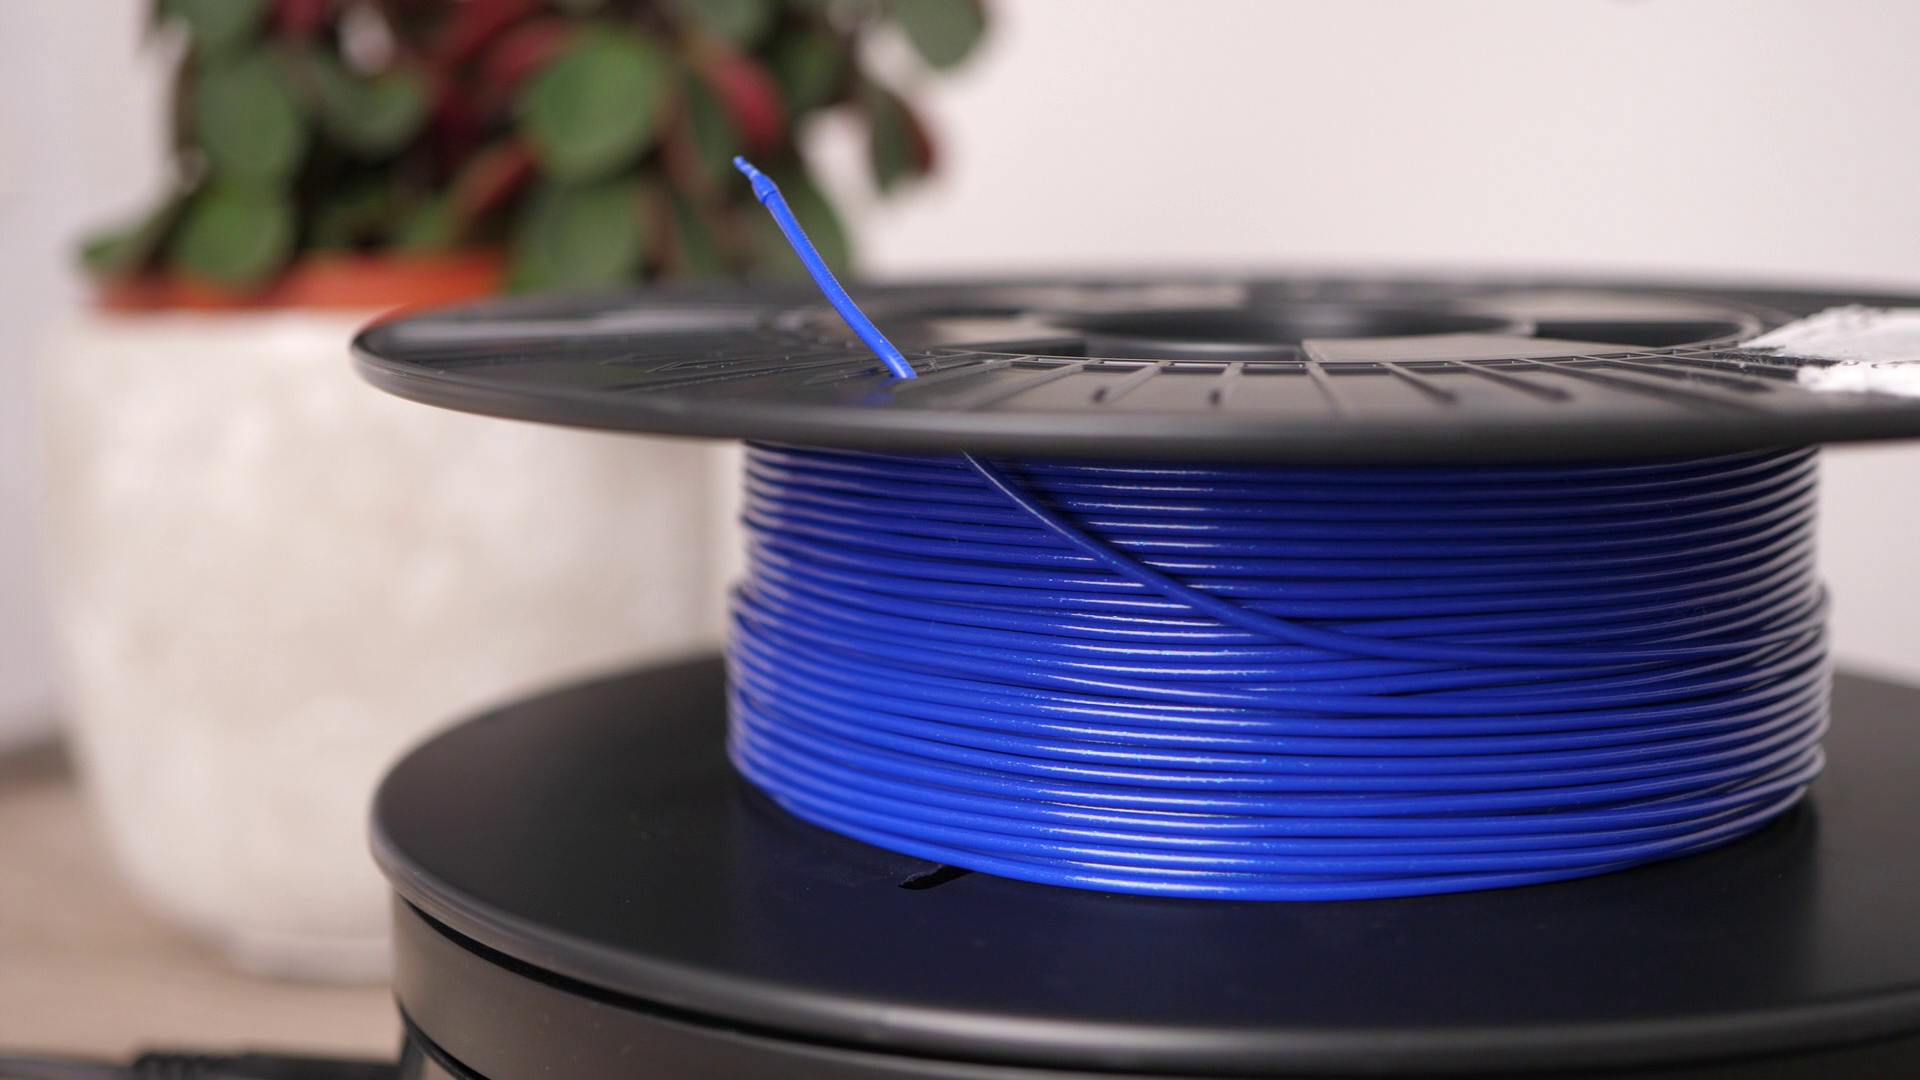
Once all the pellets are consumed, I can turn off the spooling, cut the filament and take my roll of material out of the machine. Not the perfect winding of the Prusa spools, but honestly, I’ve seen worse, and this process can actually be optimized by fine-tuning the settings as you’ll see in a bit. The color is really nice and clear and it prints perfectly well.
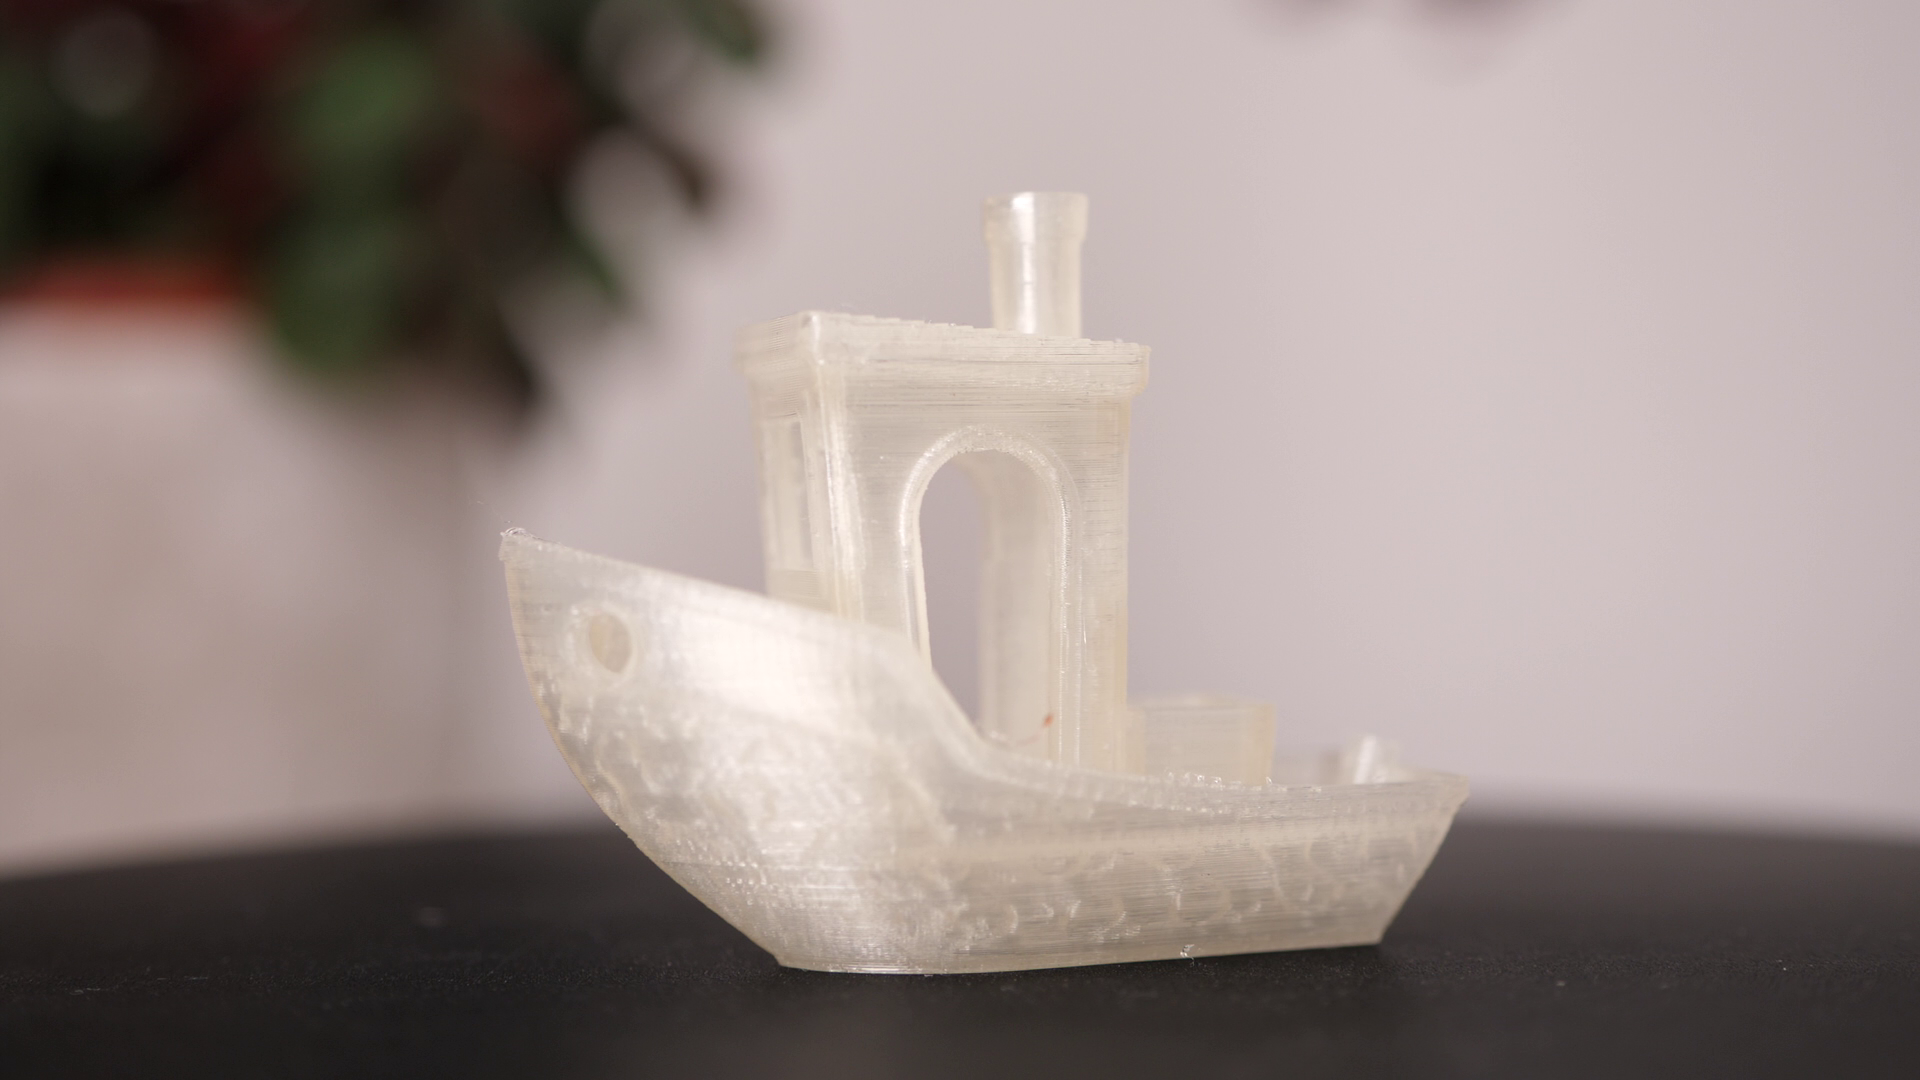
Transparent material is nice, but honestly, because the prints always turn out not perfectly clear, we rarely print with such a material. This is where colors come in! Coloring plastics is usually done with a so-called masterbatch. A masterbatch are pellets of highly concentrated pigments held together mostly by the same or a compatible polymer that you’re processing—just a more manageable and more controllable way than mixing powdered pigments with your pellets before the extrusion process. My friends from DasFilament, a German filament manufacturer from which I buy most of my PLA and PETG filament, were so kind and sent me a bunch of samples to play around with. Since you’re usually only adding 1 to 5% of the masterbatch to your normal pellets I only needed a couple of grams that I’m sure the masterbatch manufacturers would not have been happy to sell to me.

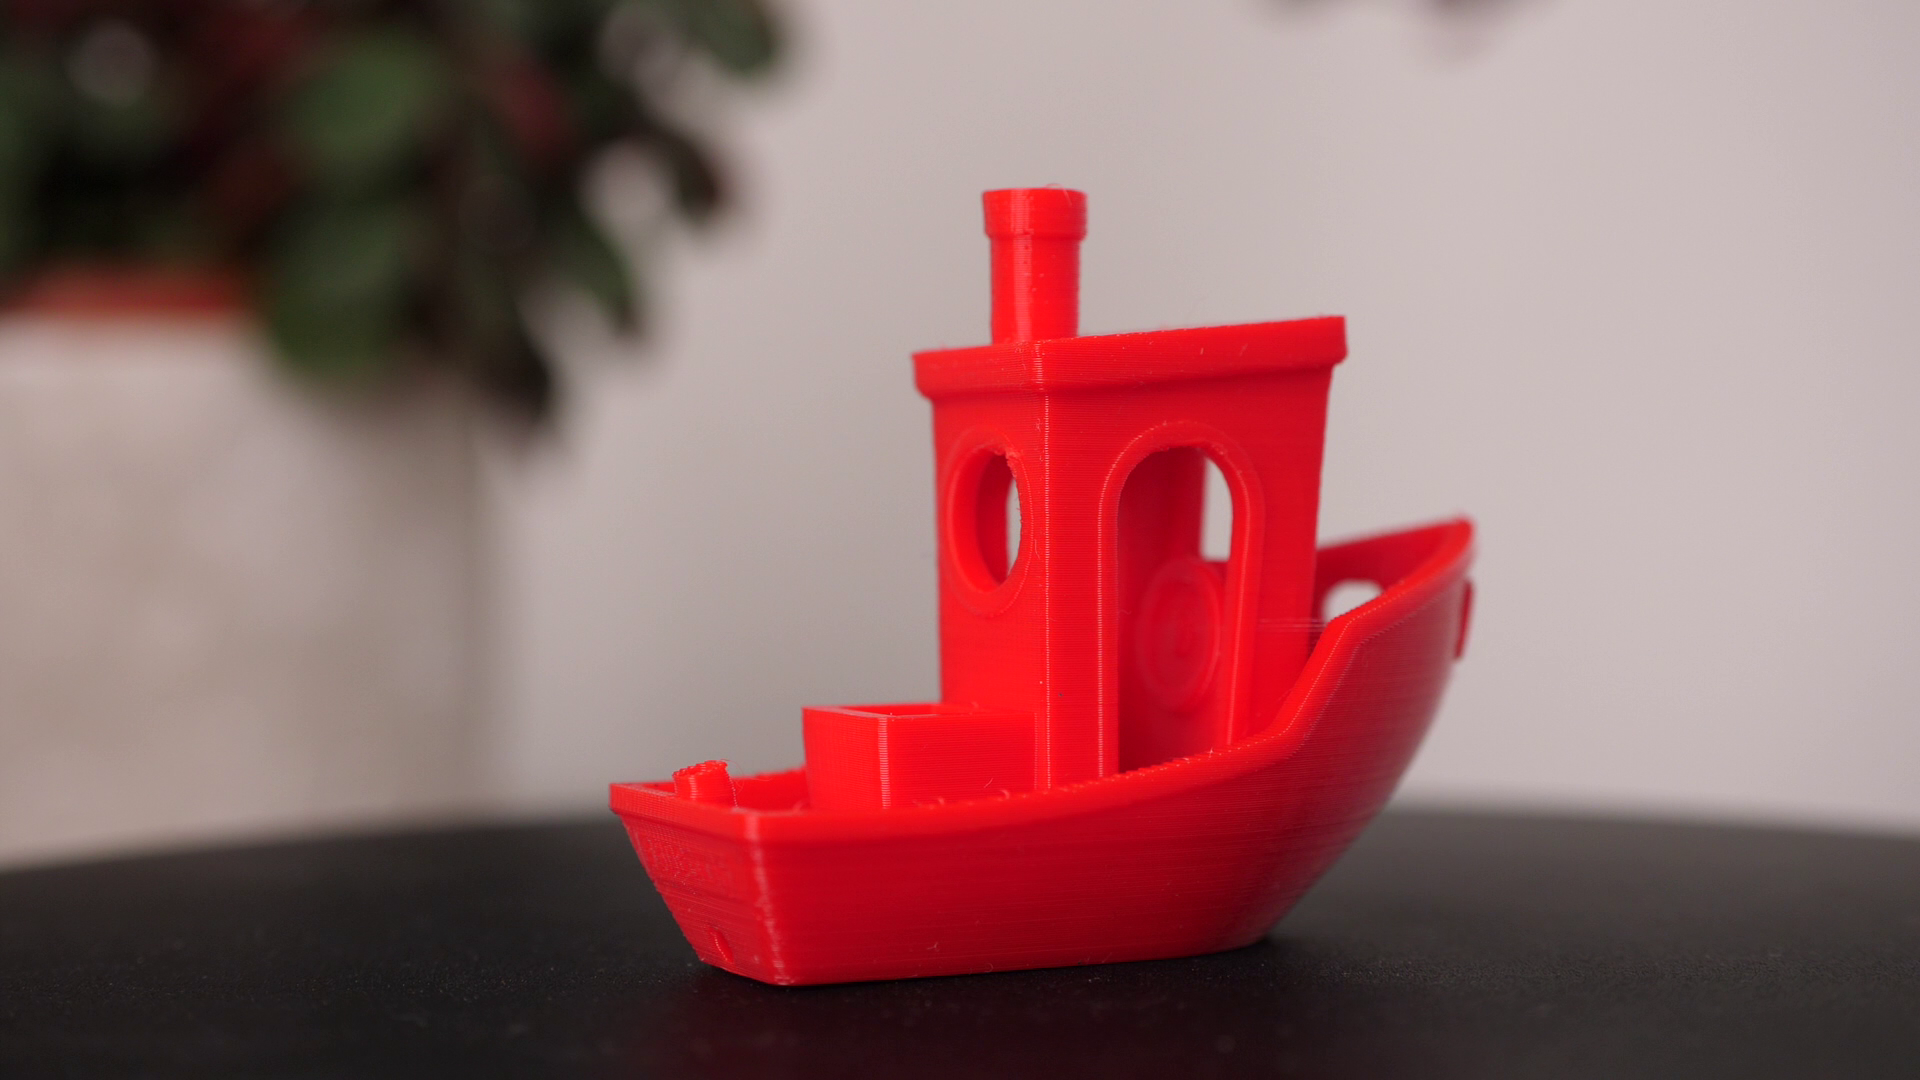
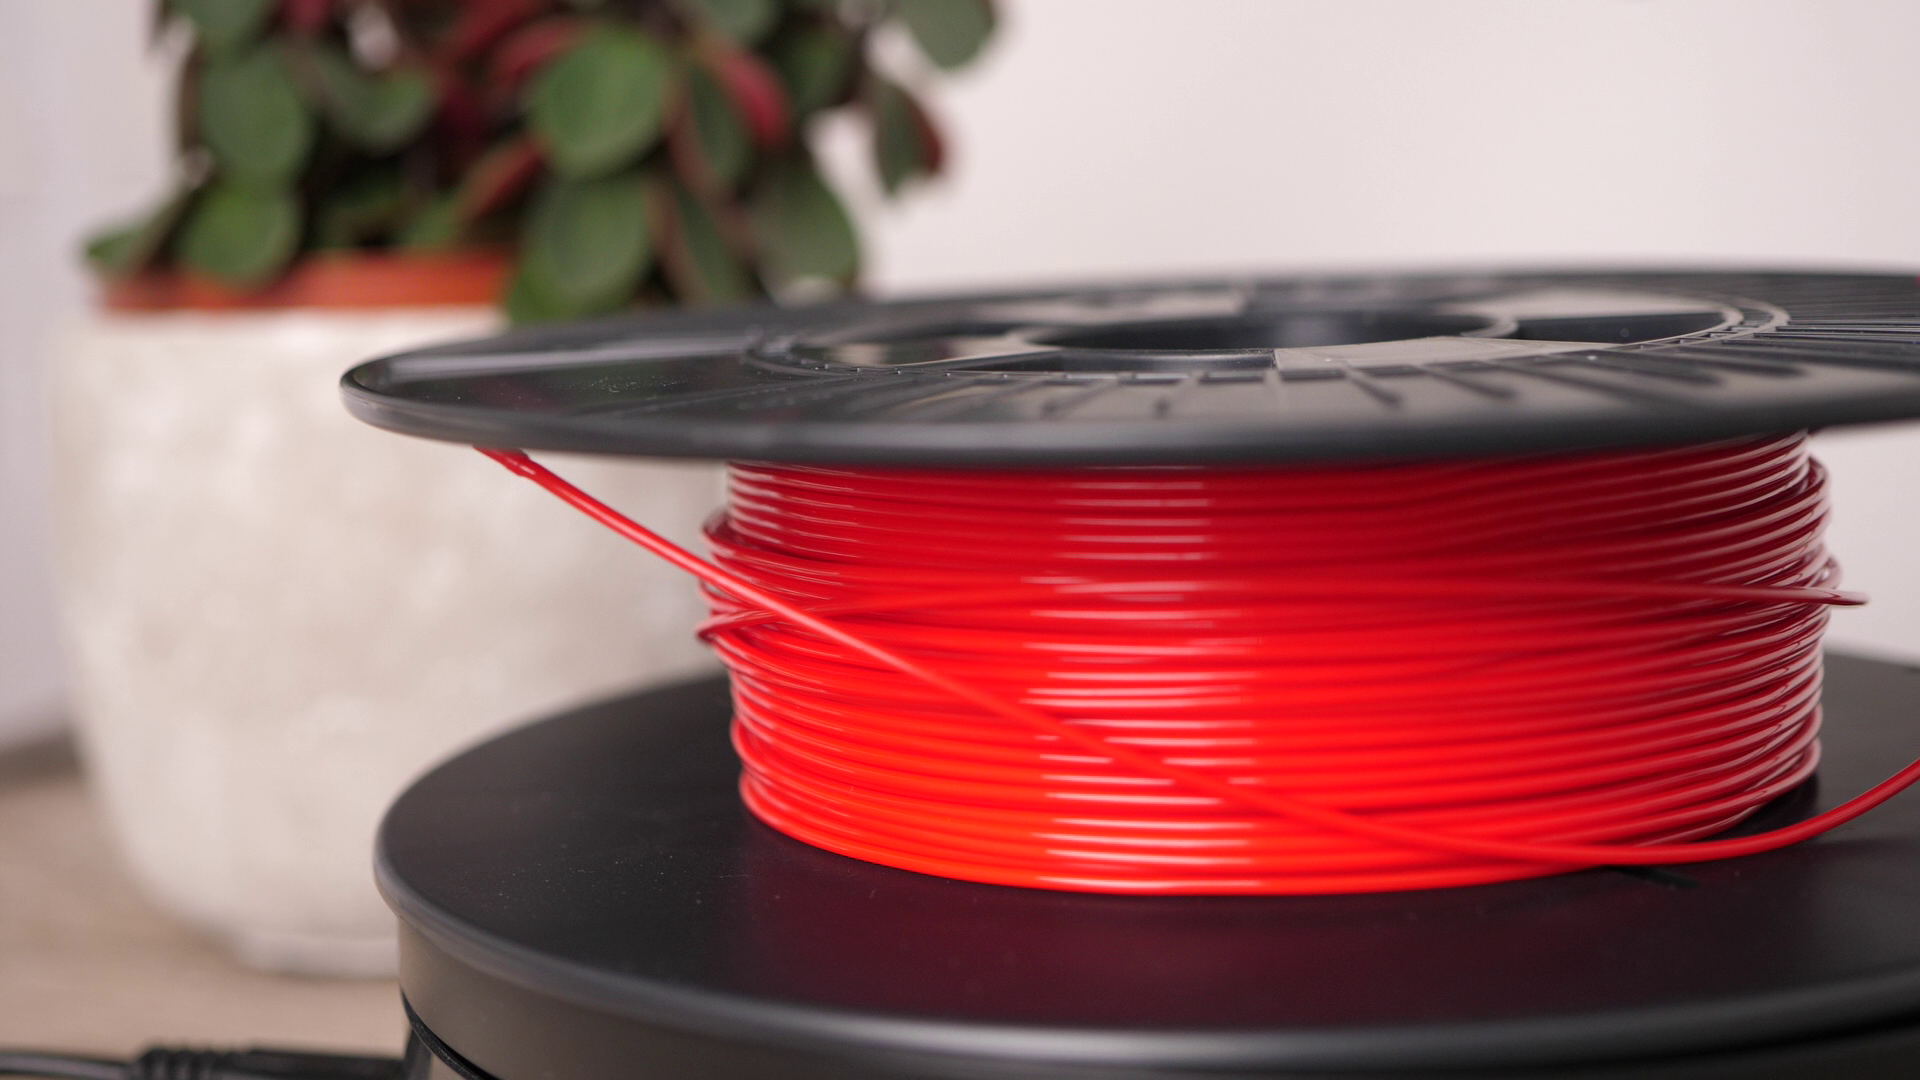
Red Masterbatch
Let’s start with a red filament. For that, I add 2% of masterbatch to my PLA pellets, thoroughly mix it and fill everything into the hopper. Of course, it again needs a couple of minutes until we get red material out of the nozzle because we have to purge out the old material at first. After that, it’s the same procedure as before: Threading the end of the filament through the positioner and the spool and start winding. Since there aren’t many particles of masterbatch in the pellets, it’s very important that the extruder screw build up pressure and performs a lot of mixing and shearing motion in the metering zone, to mix the melt peroperly and to get even colors. 3DEVO provides, besides their extruder, monitoring software that you can use to track all the extrusion process parameters.

DevoVision
In our case, when we only extrude some simple PLA, the diameter is what concerns us. As we can see, the diameter fluctuates a little, mostly between +- 0.05mm, sometimes a little more. I have already tried to tweak the process parameters even more, using different temperatures, fan settings, and screw speeds, but since I’m just starting using this machine, I’m okay with the results. Honestly, if you look at the size of the machine that is just using as much desk space as a Prusa Mk3, you can’t expect the preciseness of an industrial extrusion line.

Size comparison
And here we go, a bunch of red filament that again prints beautifully.
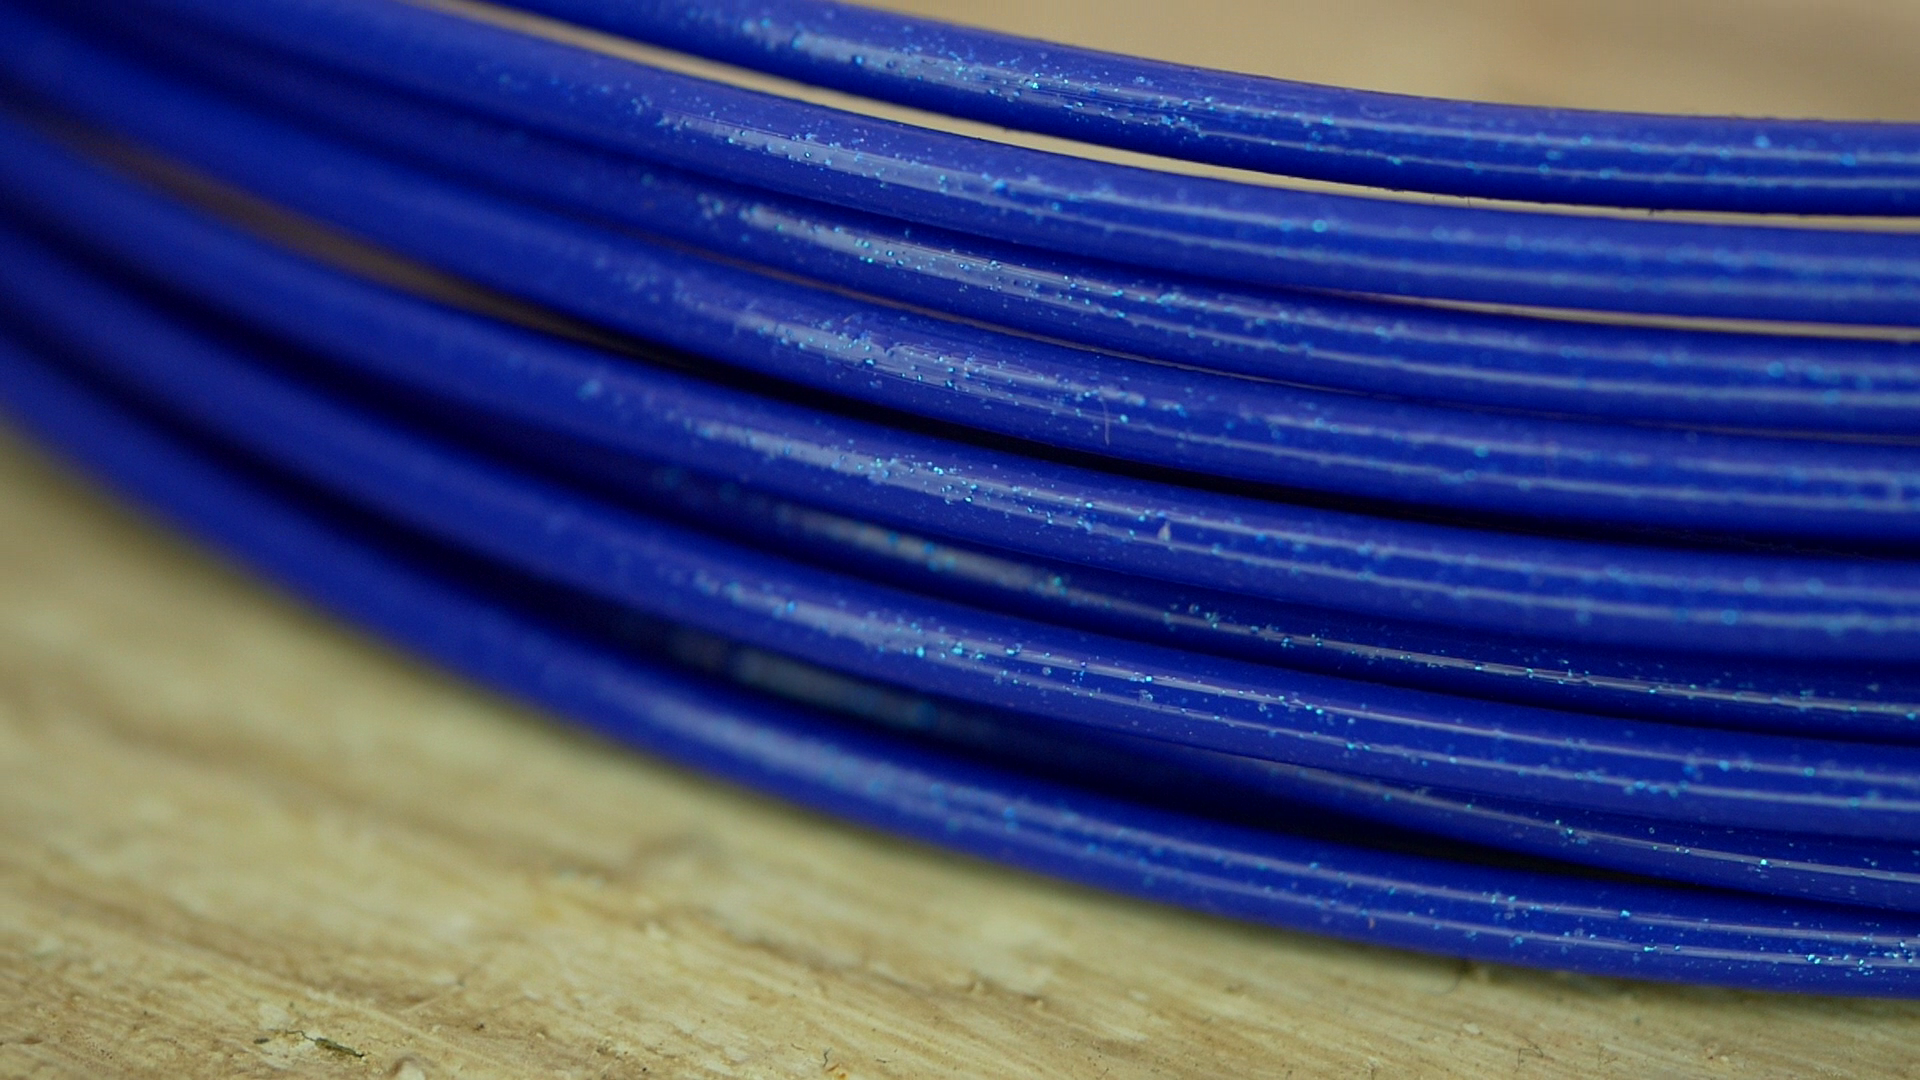
Let’s next get even a little fancier and add, besides the color masterbatch, also these sparkly pellets. I didn’t know how much to put into the mix, so I used 2% blue masterbatch and 1% sparkle masterbatch. And into the hopper, it goes! Again, we need to purge out the red material that’s still in the barrel. Still, this time the transition is actually lovely because when the two colors start mixing, we get a really nice, purple color that sparkles.

Purple transition from red to blue
Here I’m purging everything out, but if you ever bought rainbow filament, they actually stack different colors on top in the hopper and create these transitions on purpose. Looking at the melt before was interesting, though this time, it’s really mesmerizing to watch the molten PLA flowing out of the nozzle that then gets slowly drawn to the final diameter and wound onto the spool. In the end, the filament got a little less sparkly than I hoped, though still the blue with a hint of stars is quite a nice material and also prints gorgeously. Since I adjusted the spooling parameters the winding also already looks quiet a bit nicer.
The part everyone probably was already waiting for is to extrude some failed 3D prints. And yes, I also do have SHR3D IT, 3DEVOS desktop plastics shredder, with which have already ground up a bunch of failed 3D prints, dried the material, and extruded it, though it hasn’t been perfect yet and was sometimes even rather bad.
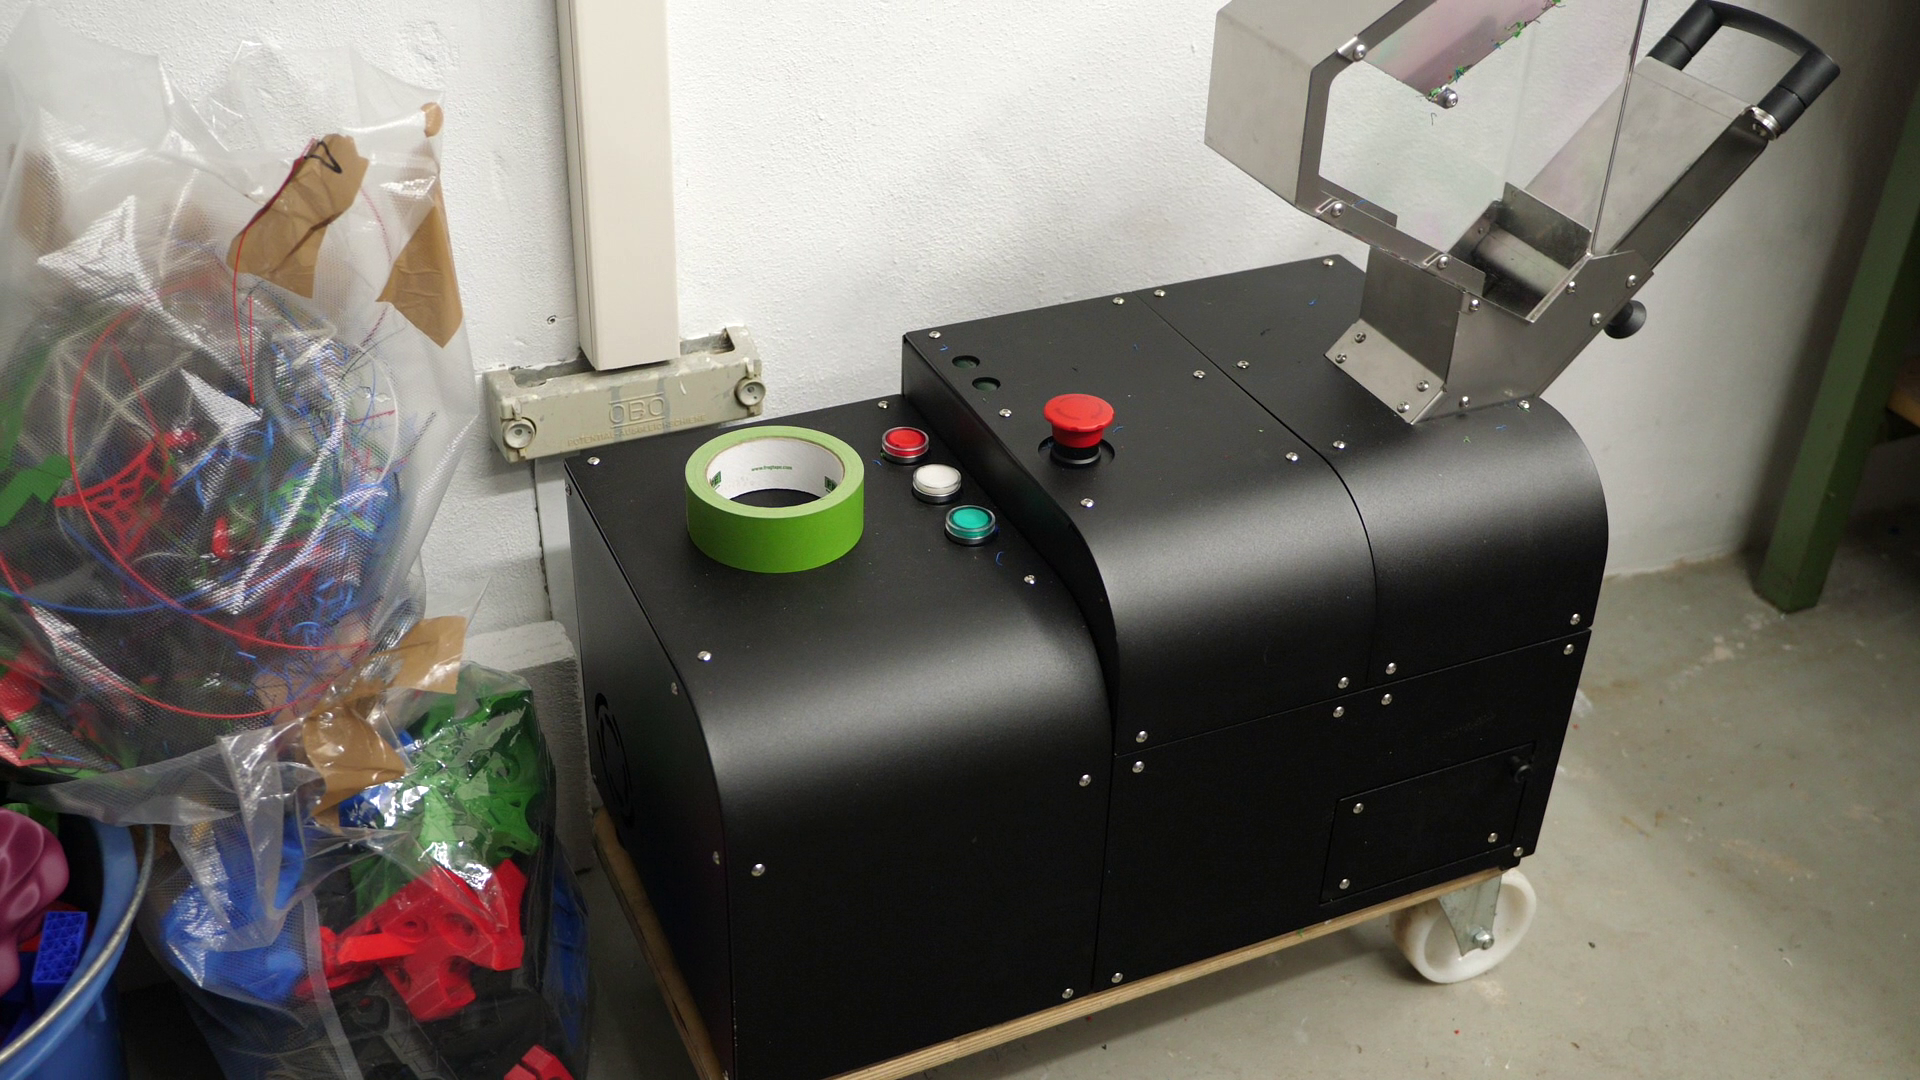
3DEVO Shr3d It - Desktop plastics shredder
You have to understand that re-using failed prints is way harder than extruding virgin material. You need to make sure that you only have the same polymer, clean it, shred it, sieve it, shred it, sieve it, and dry it. Since you end up with quite a fluffy material, feeding that at a consistent rate into the extruder can be quite tricky. I have already extruded a bunch of regrinds and that printed beautifully afterwards, but since the process is not yet perfect, we’ll cover the whole, detailed process in the next video.

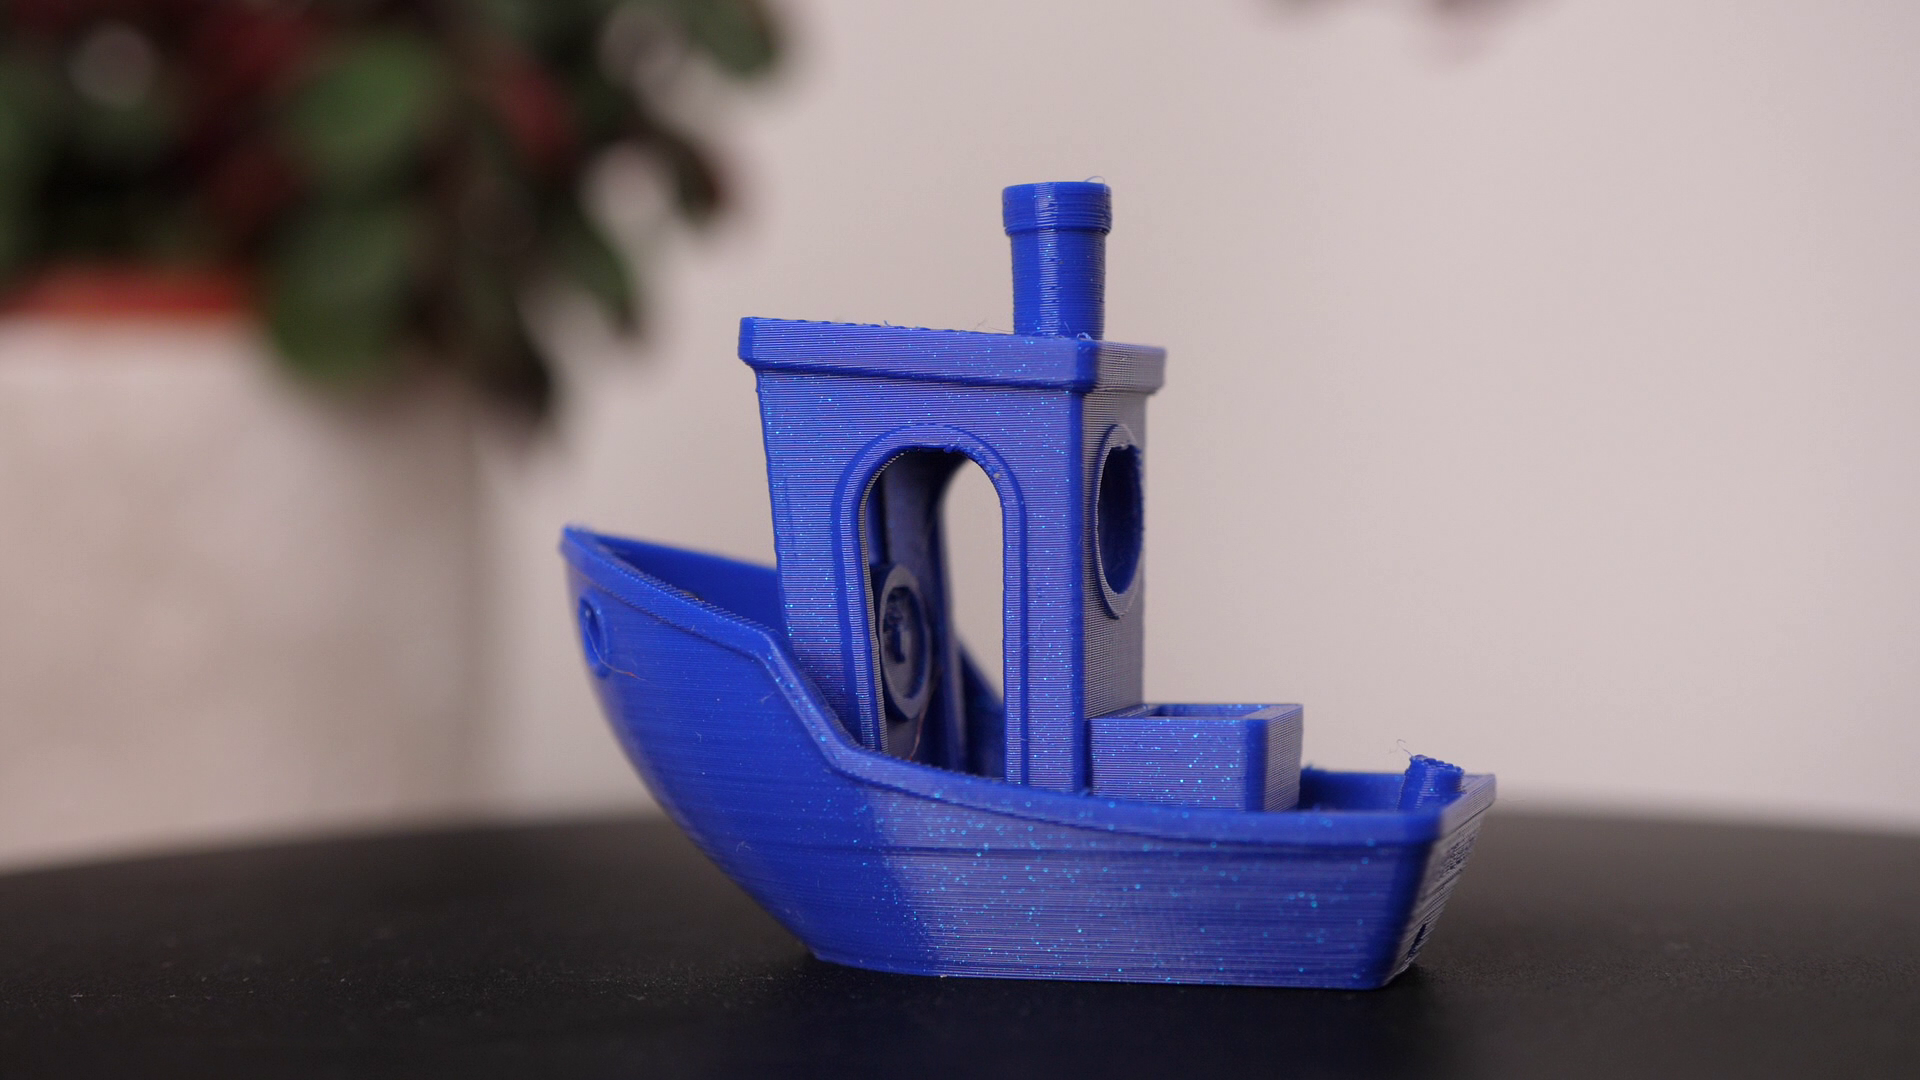
3DBenchys from recycled PLA
In the end, let’s also address the elephant in the room, the price of the 3DEVO filament extruder, because they only start at around 5000 bucks. But before you scream, their machines are not targeted at makers and people that want to extrude their own PLA filament at home just because buying pellets is way cheaper than final filament. Their machines are intended to be used in labs where you want to try out new polymers, additives or extrusion ideas at a small scale before you go into full industrial production. For that, those machines are probably the most compact yet capable things you can get. I honestly am very happy for this cooperation. Of course, it’s not maker equipment but, due to my limited time, it gives me the possibility to try out things way quicker than I would be on, for example, the Filastruder. I think trying things out on this machine rather than not at all is still interesting for everyone. This might still inspire some of you to dedicate your time to replicate or experiment with more affordable solutions. Though maybe as a last thought, if you are thinking about 3D printing materials like PEEK and look at the filament prices, extruding these on your own machine might actually give you a return on investment pretty soon!
So this was my first project using the 3DEVO desktop filament extruder which helped me to understand way more things concerning this process and I hope you learned something as well. There is so much stuff I want to try out in the near future with it. Please let me know below if you have any questions and what you’d like me to extrude or recycle with this machine!

Extrusion and recycling ideas