Non-Planar 3D Printing by Bending G-Code
Let me quickly tell you the story of how I came up with my non-planar 3D printing idea. Some of you might know that I’ve got an adorable 1.5-year-old daughter and as a caring dad with a 3D printer, I, of course, wanted to print something for her. The idea was to make her a ball run that I could easily attach to a window. The tube sections I wanted to make are pretty tall parts and I’m usually impatient and want quick results. Printing high parts conventionally often takes quite a long time, so I use the spiral vase mode when I usually print vases or stuff like that. Here, the printhead moves in a very shallow but continuous spiral around the outside of a model. This is great because it’s quick, but it also usually leaves you with pretty tough parts. Designing parts for vase mode is an art, and I’m always super impressed if RC airplane designers like 3DLabPrint manage to create whole airplanes that can be printed as a single, closed contour with barely any travel moves to minimize oozing so you can print them with Light Weight, Foaming PLA.
Wing section of a 3D Lab Print Plane
I did my best and tried to at least design a bit more complex parts for spiral printing by adhering to some simple rules. I’m not a great designer, but the results could be worse. The pieces for the ball run all have grooves in the back in which cheap suction cups attach so that I can stick everything to smooth surfaces. Links to all of the files are down in the description and if you’d like to know more about designing for vase mode prints, let me know in the comments, and maybe I can make a small tutorial. Anyways, the problem with this method is that you’re limited in the shape of your designs because you always need a closed contour and flat top and bottom surfaces.
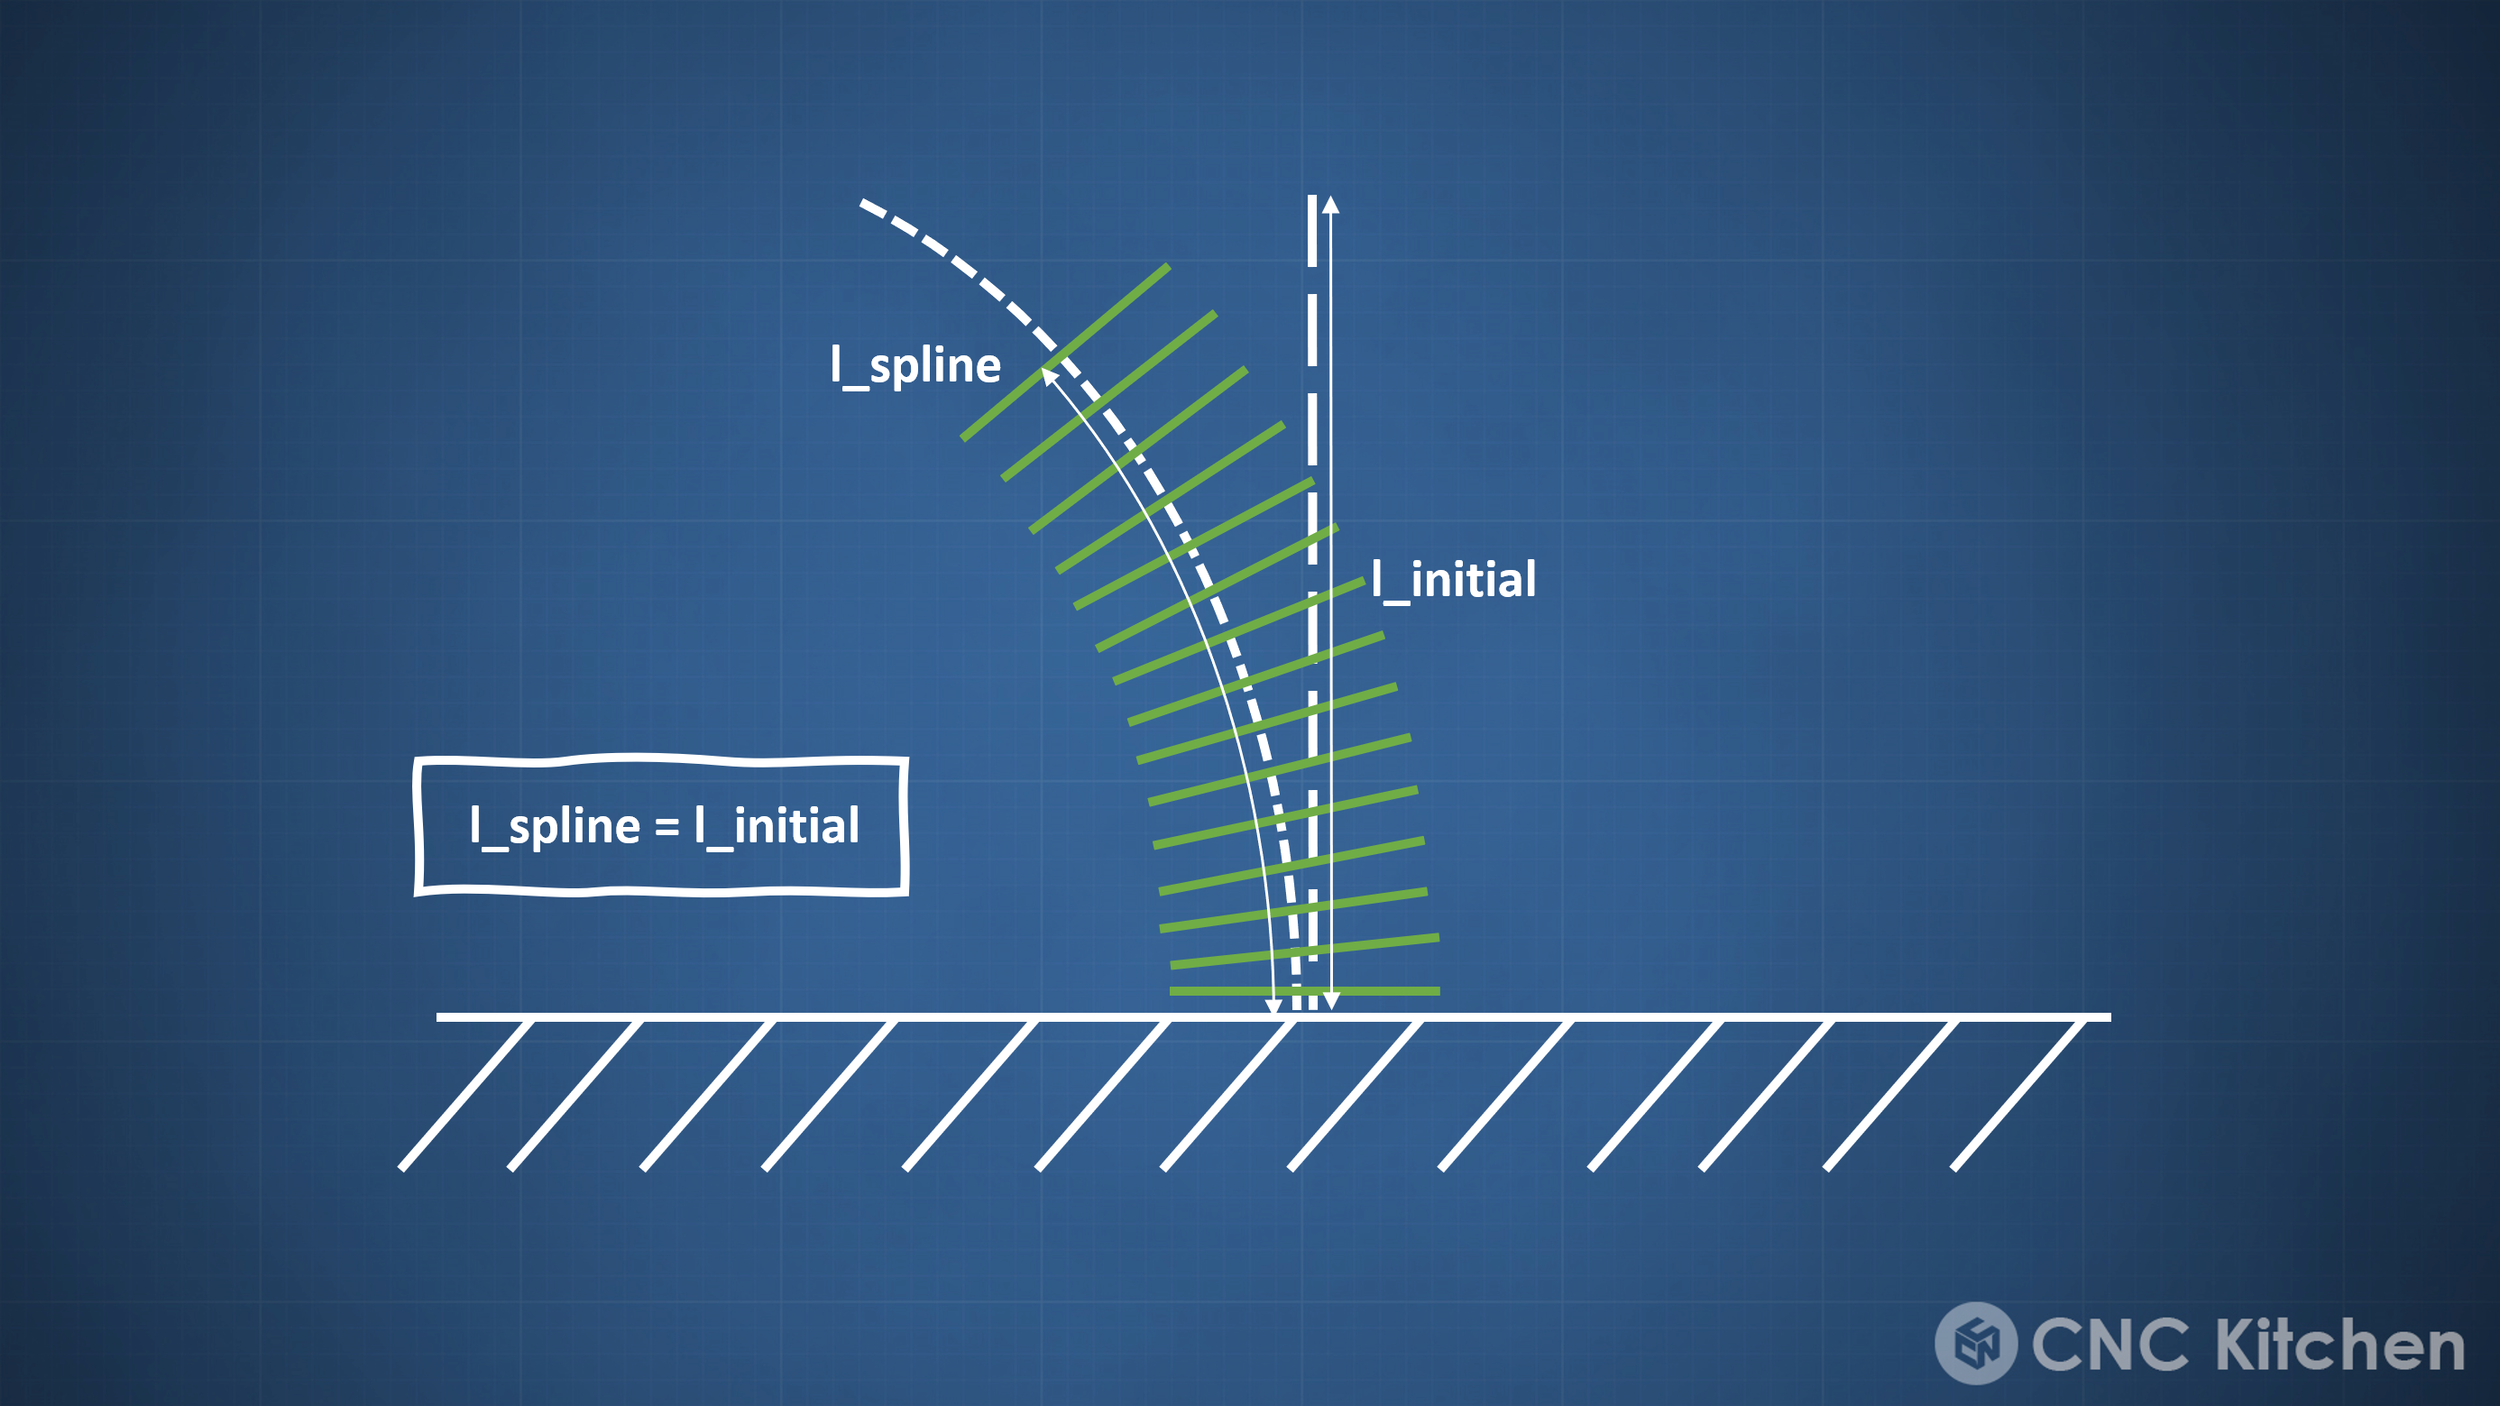
So printing just pieces for my daughter’s ball run where the beginning and end are parallel would be boring. That’s why I got the idea in my head to just bend the G-Code of one of these straight sections and make them curvy. To do that, I wrote a small Python script. Accomplishing that wasn’t that hard, and I was able to re-use a bunch of Python code I still had from my gradient infill method I developed a bit back. The idea was to define a spline with at least two points set the starting angle perpendicular to the print bed and the end to how much I wanted to bend the pipe. Then I take every movement command in my GCode, move it onto the spline, and tilt it by the angle of the spline at that point. If we do that for all of the commands in our GCode, we get a bent model in the end. Of course, we need to adjust the flow because layers get thinner on the inside of the bend, and on the outside, they get thicker. So, I just recalculate the local layer height for each section and scale the flow. Then I need to account for the fact that the spline is, of course, longer than the initially perpendicular axis if it goes to the same z-height because otherwise, the final parts would be stretched. There isn’t a pretty user interface at the moment, and I just set the name of the GCode file, define the spline so that it’s in the center of my part, has the desired shape, and hit run. After a minute or so, the script will create a new GCode file with the morphed and bent commands.
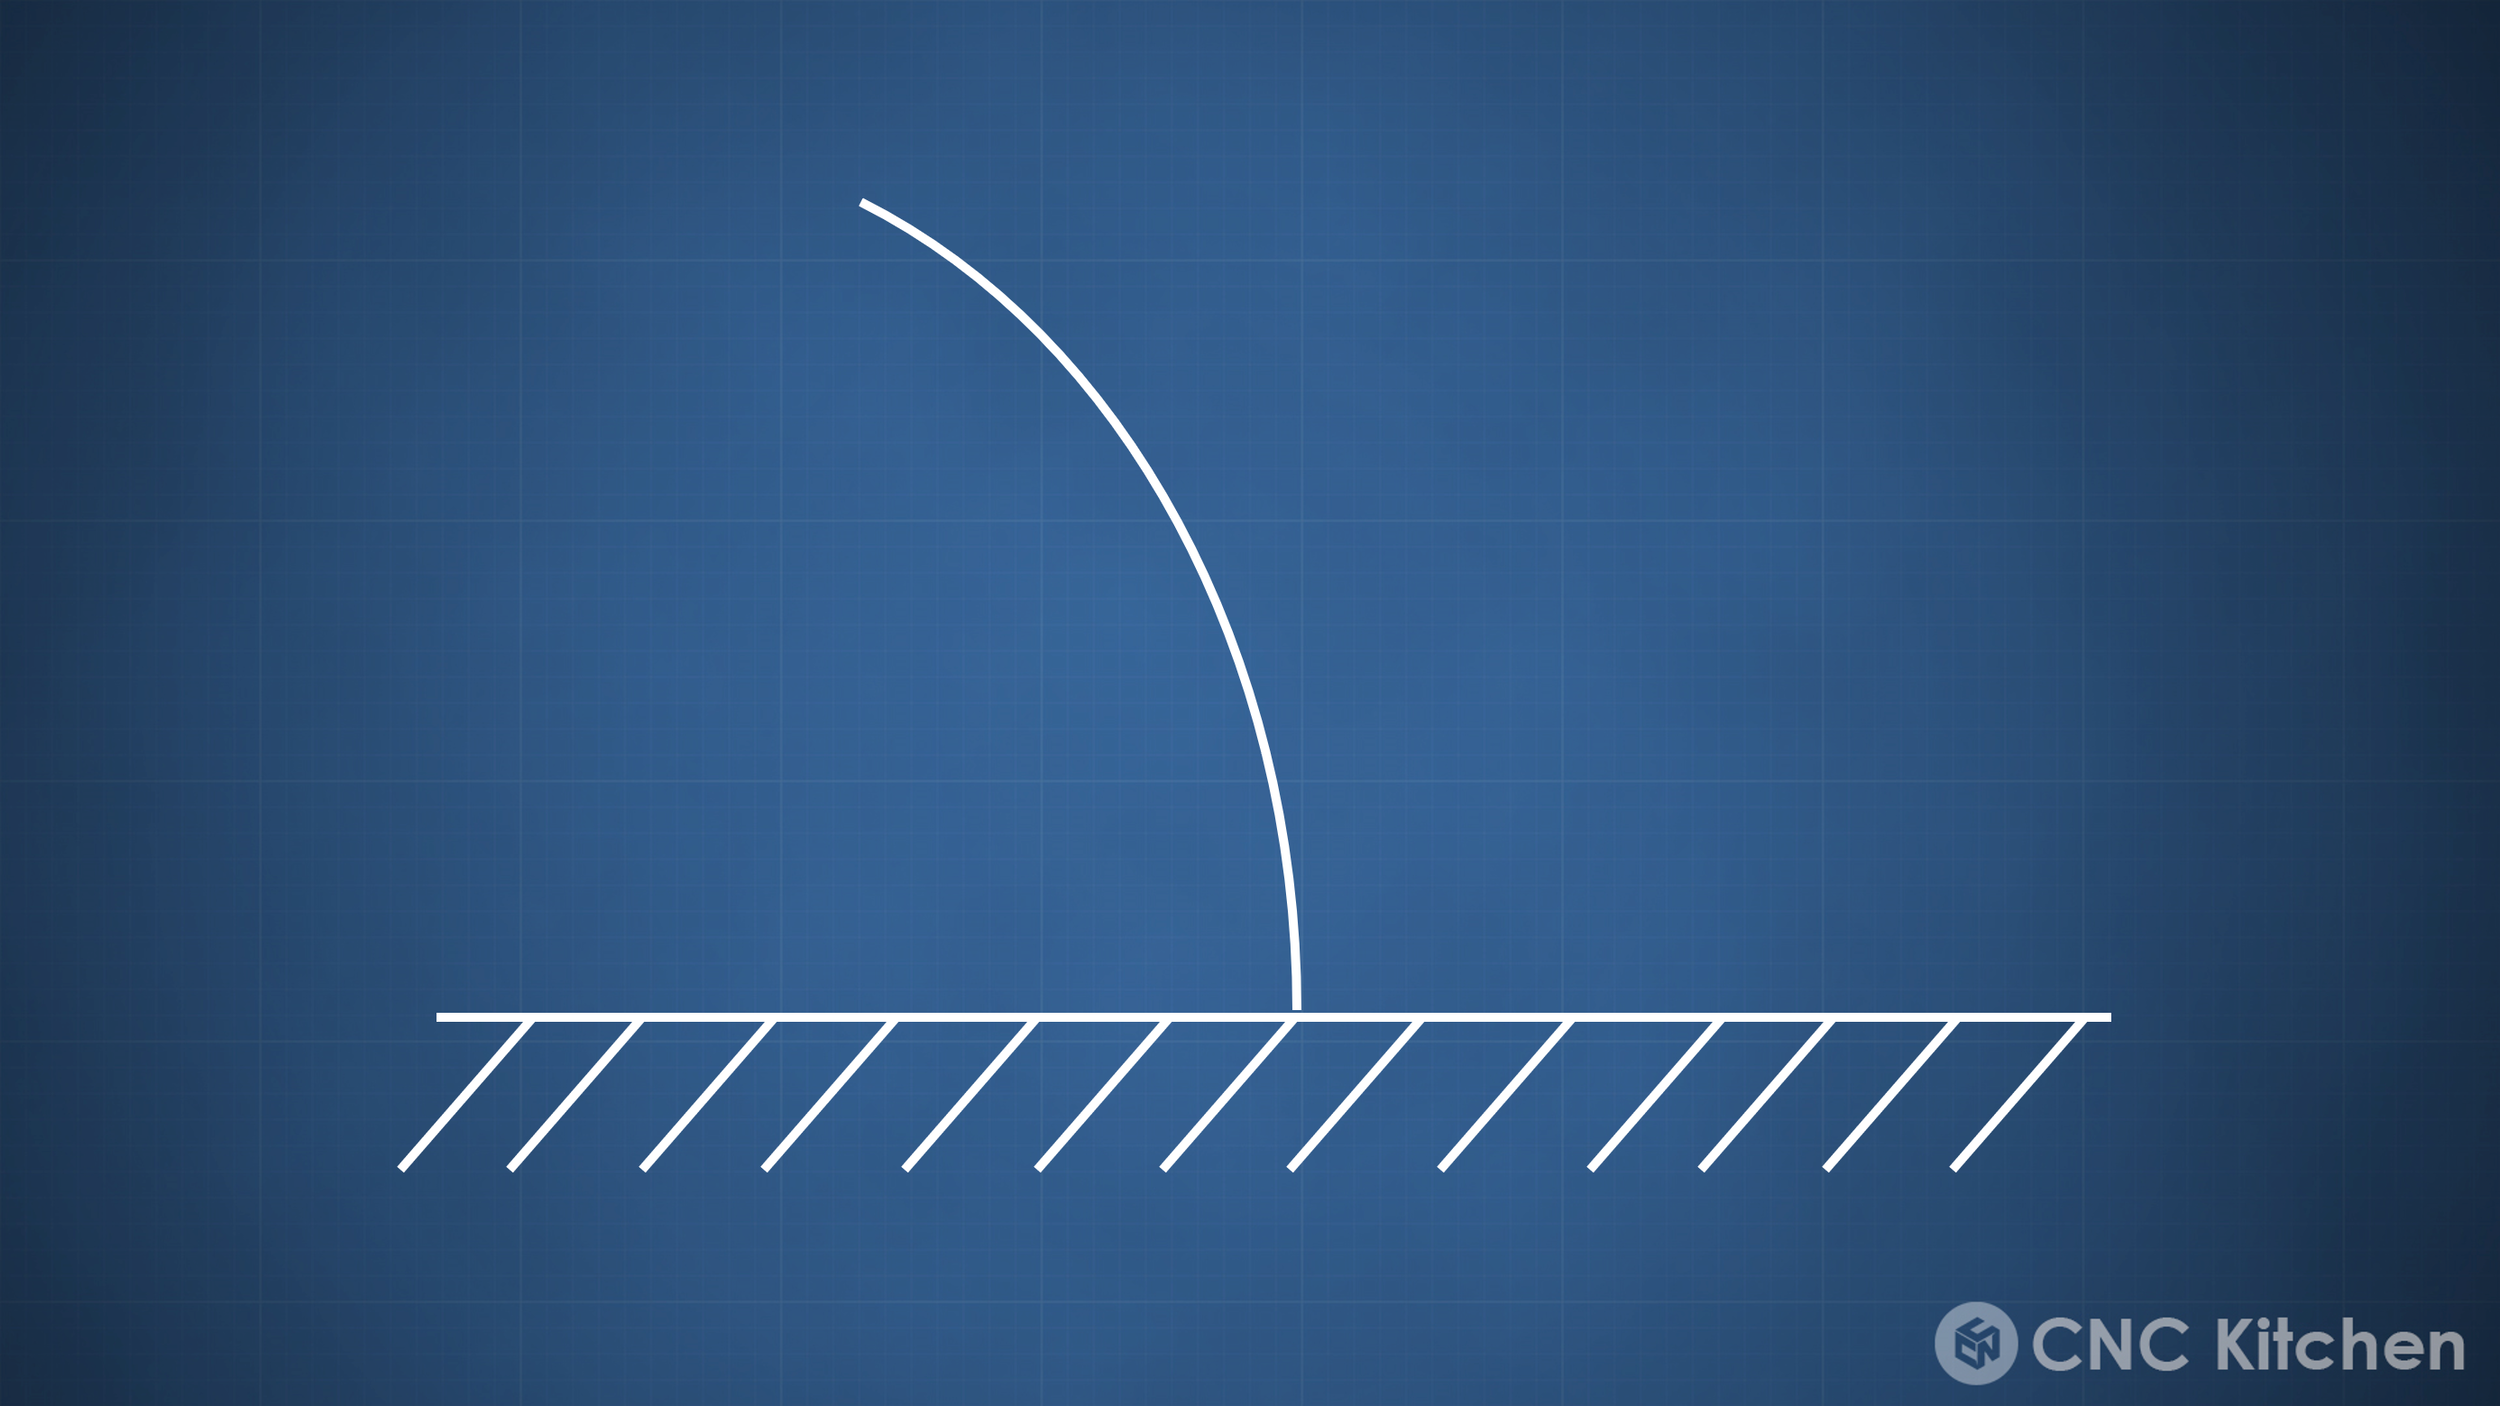


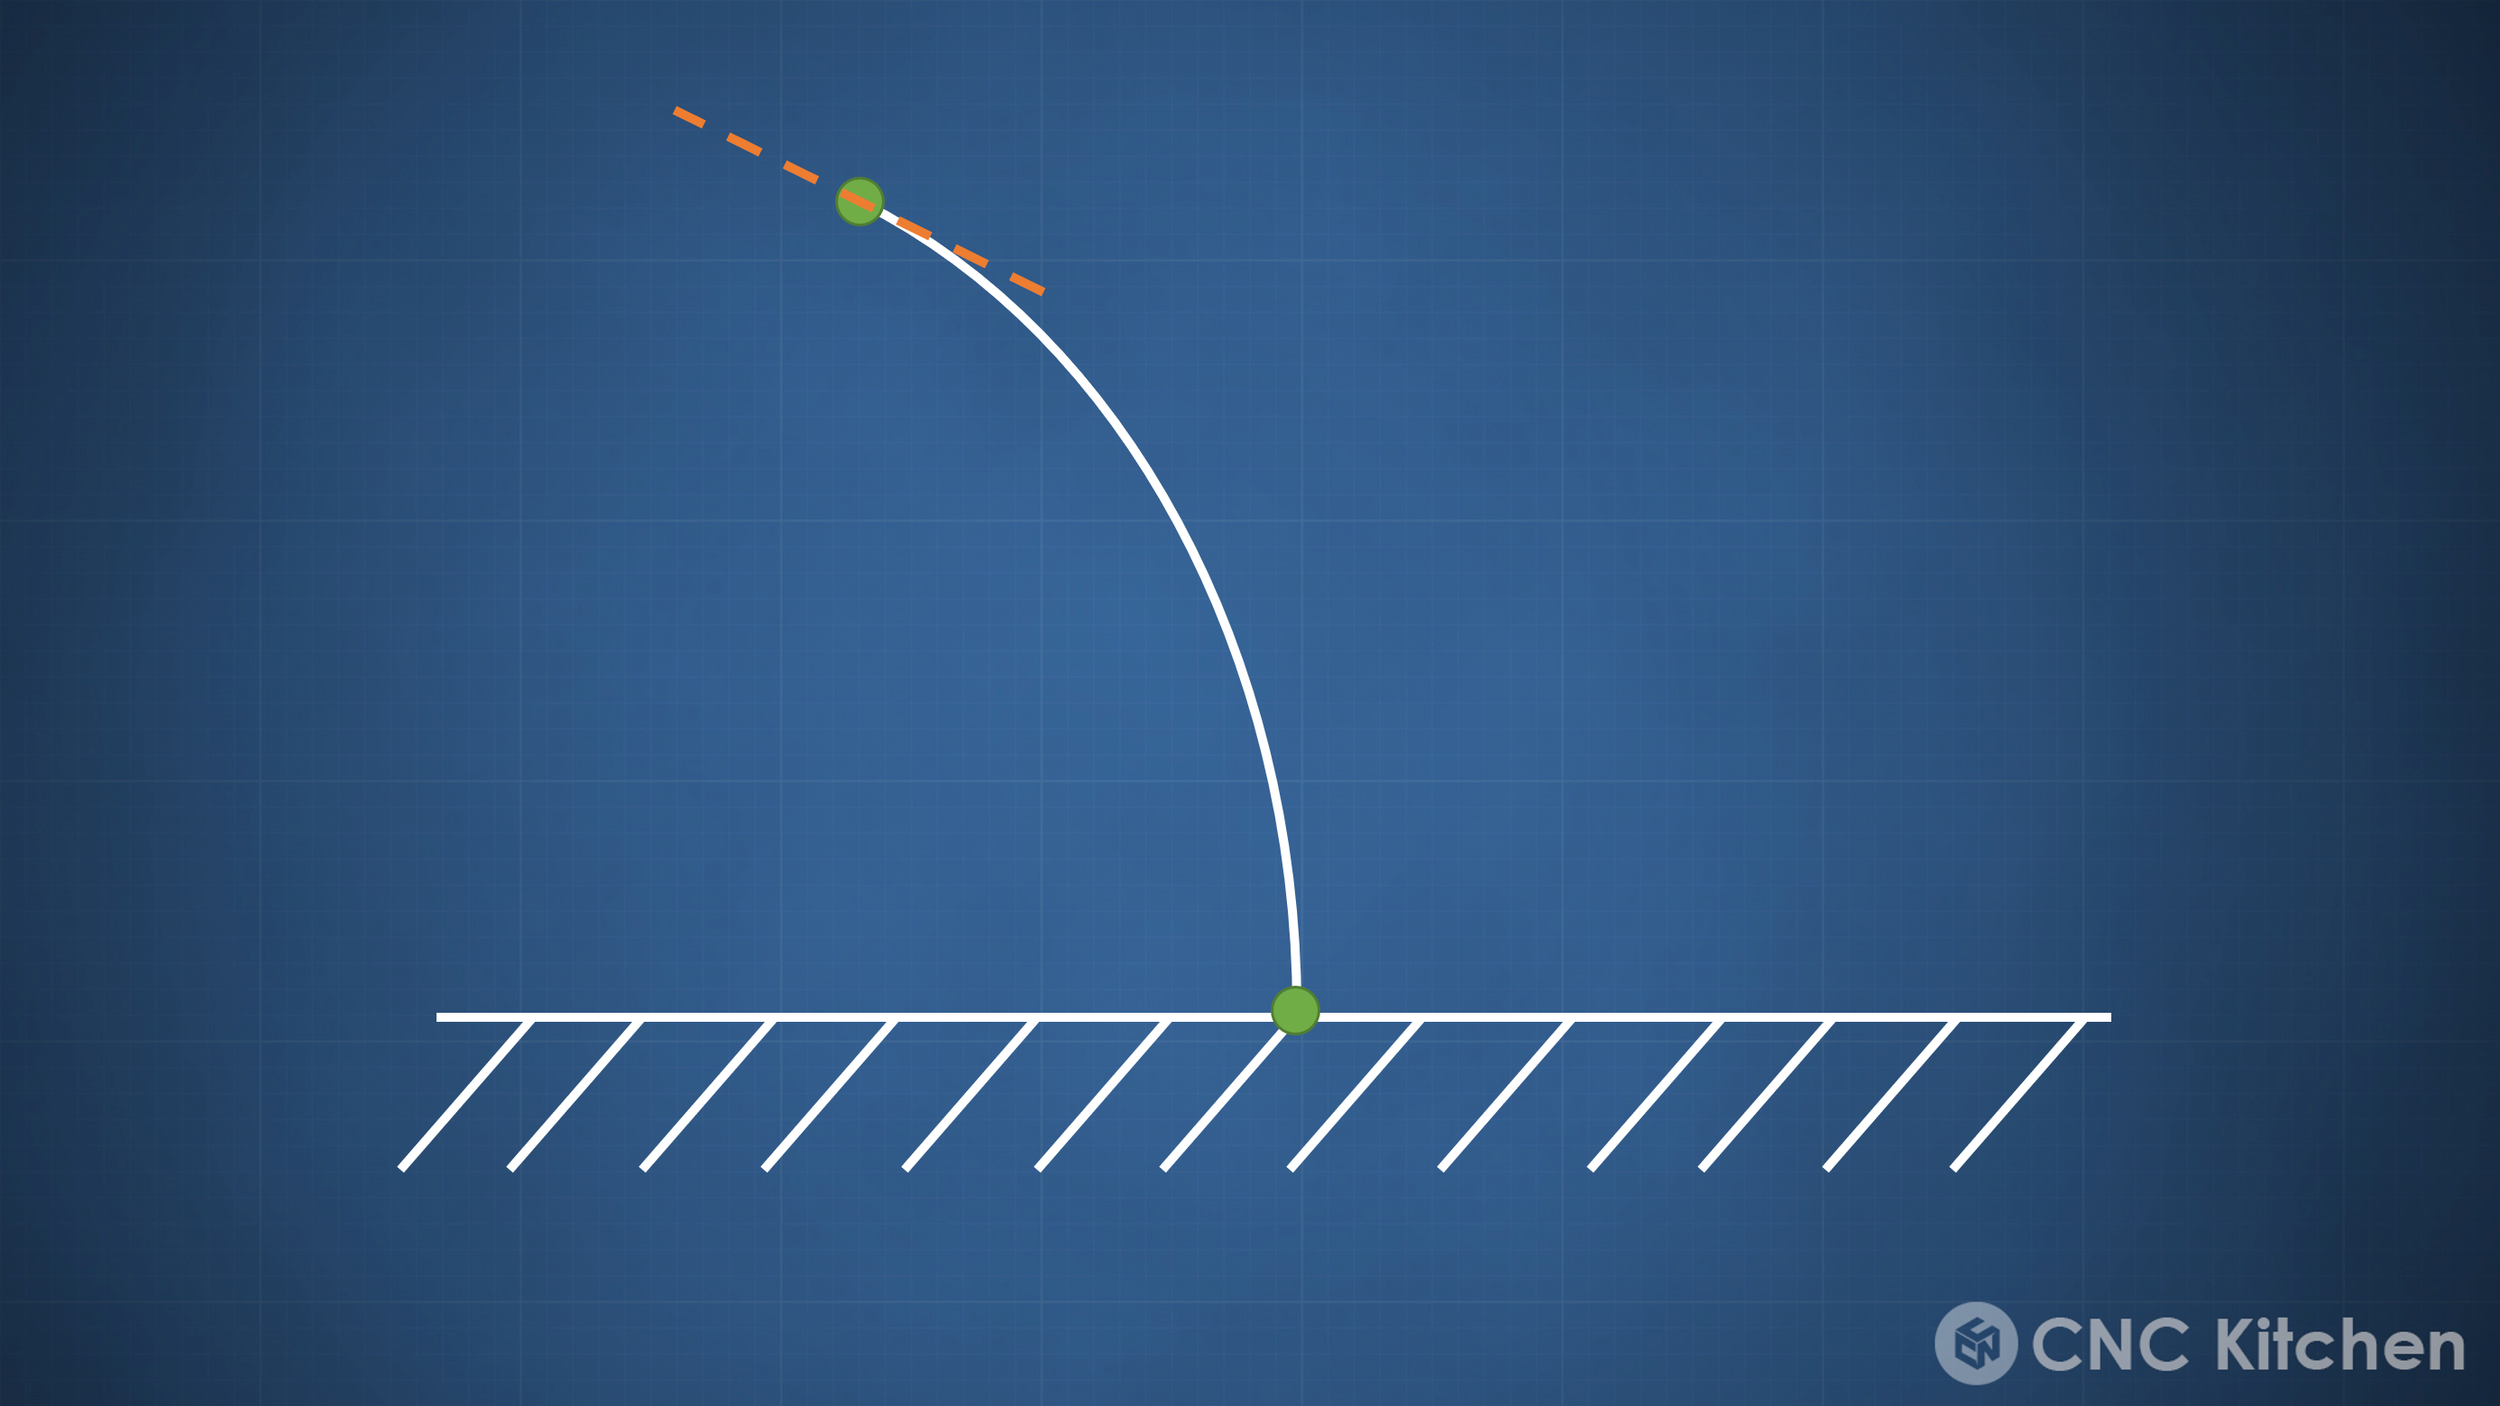
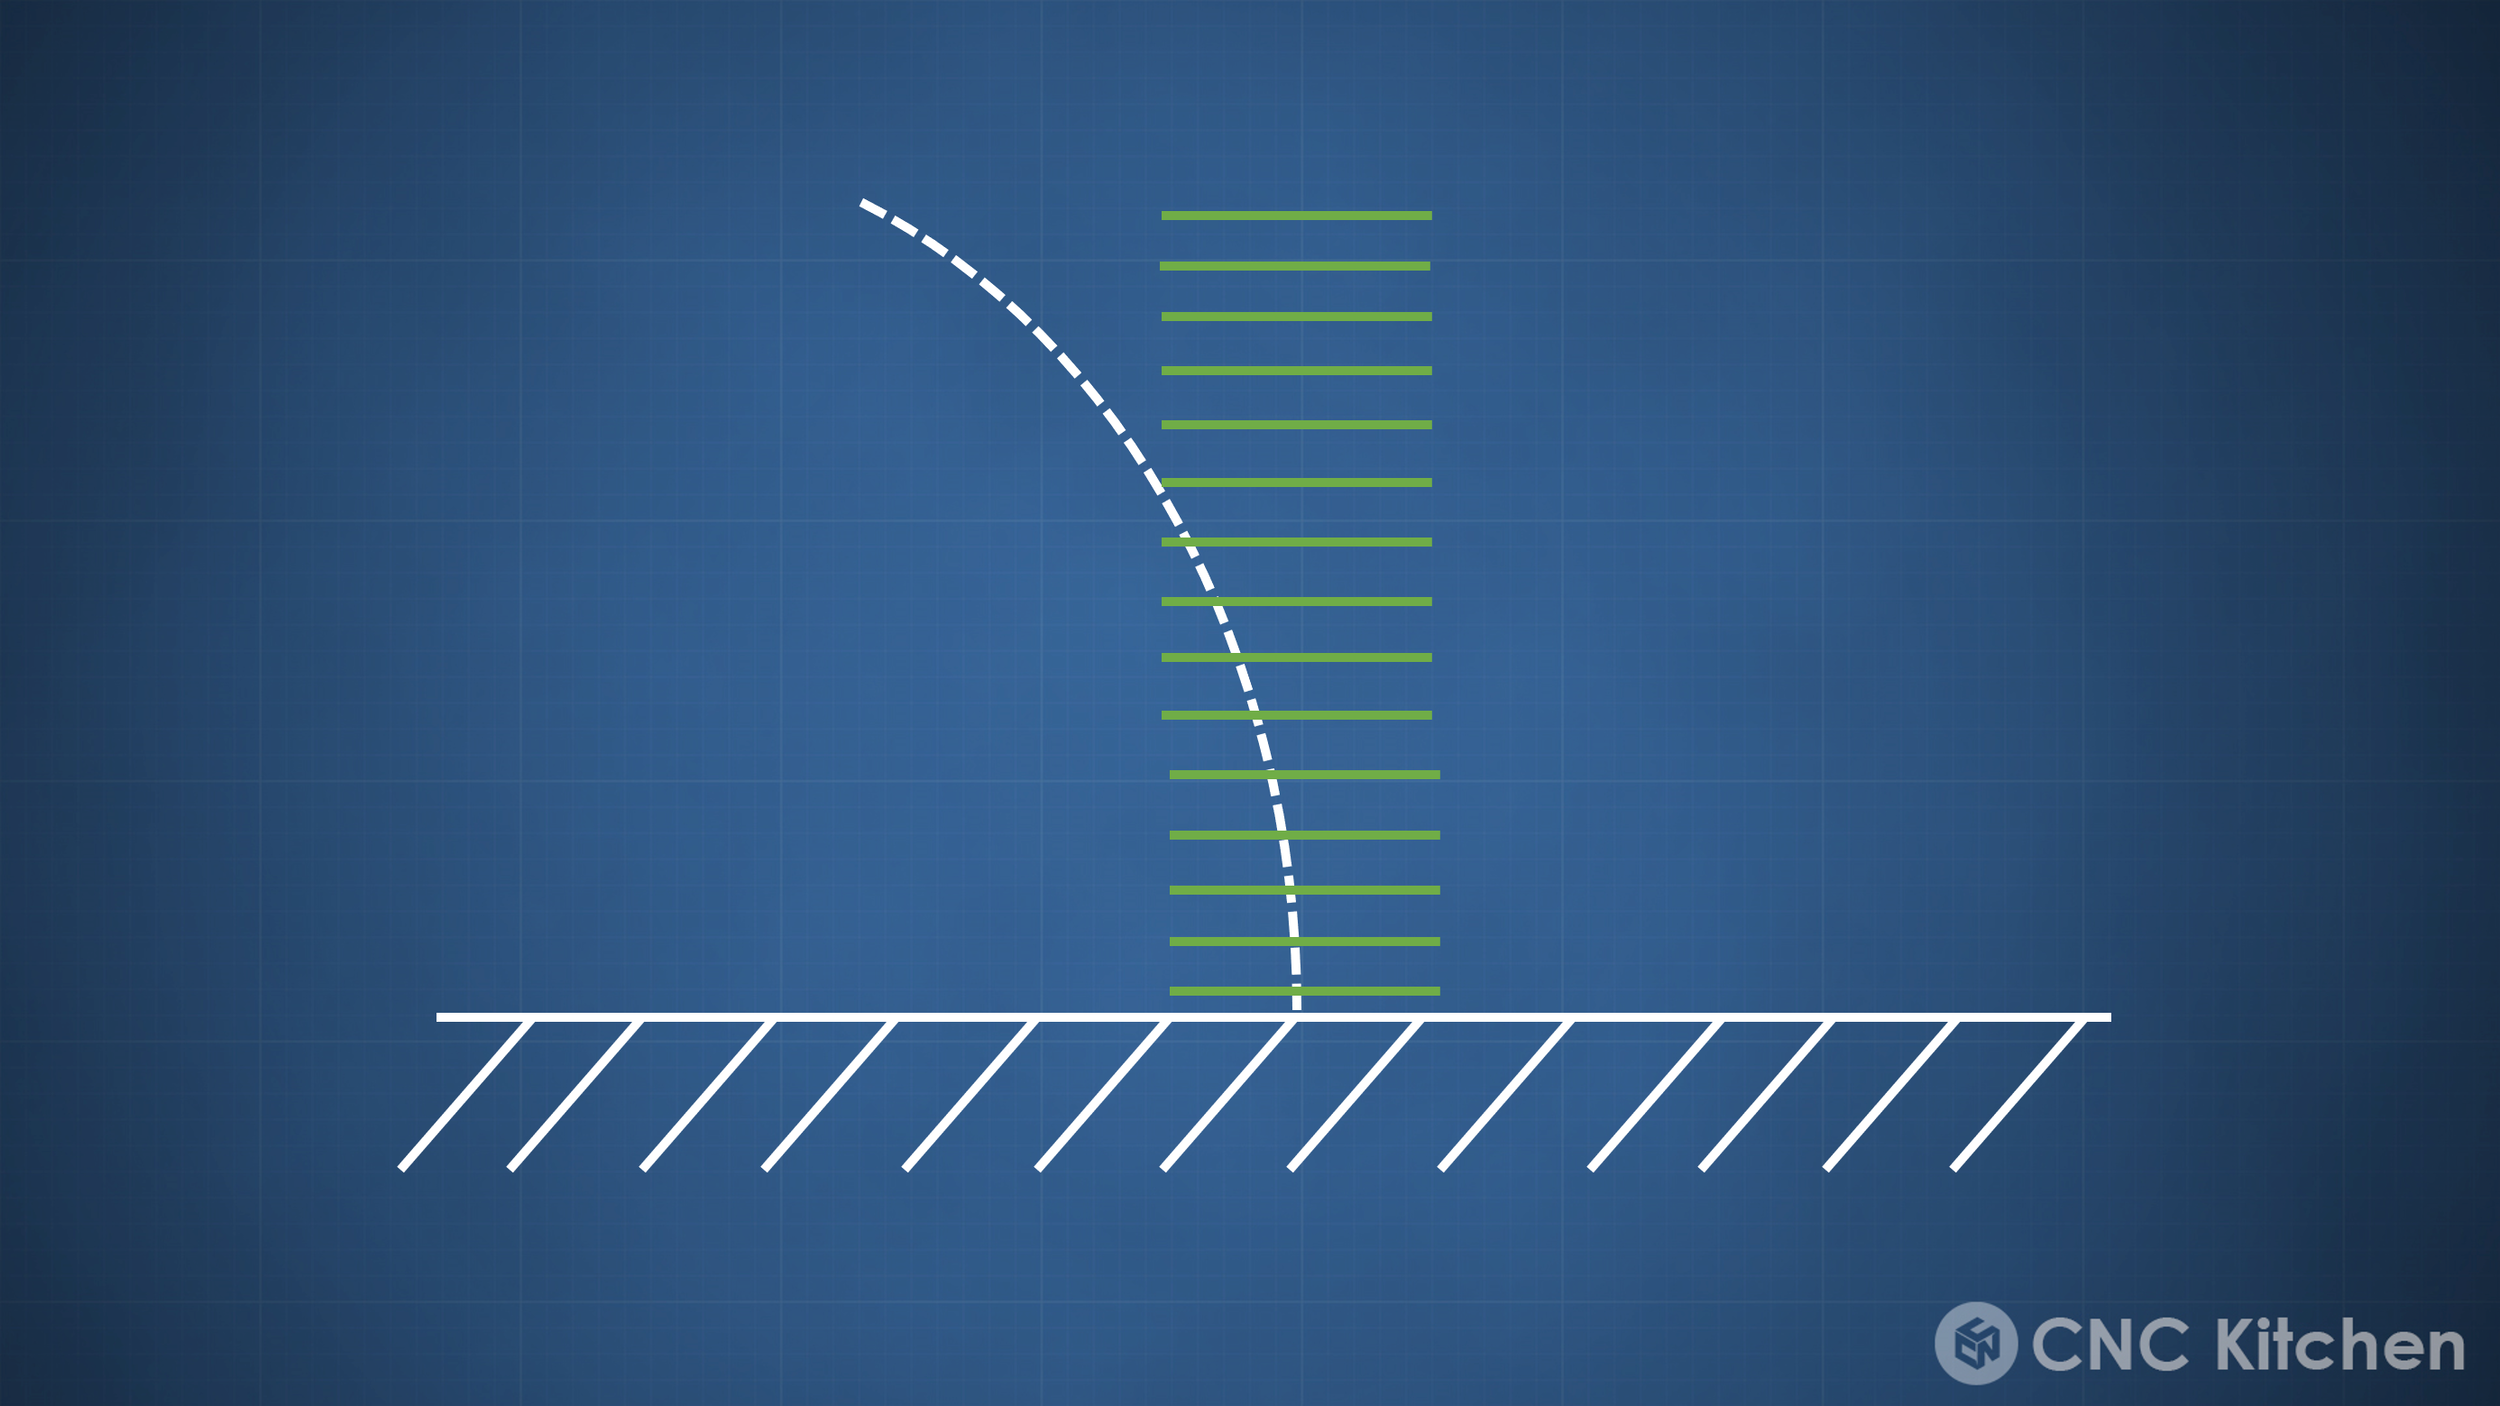


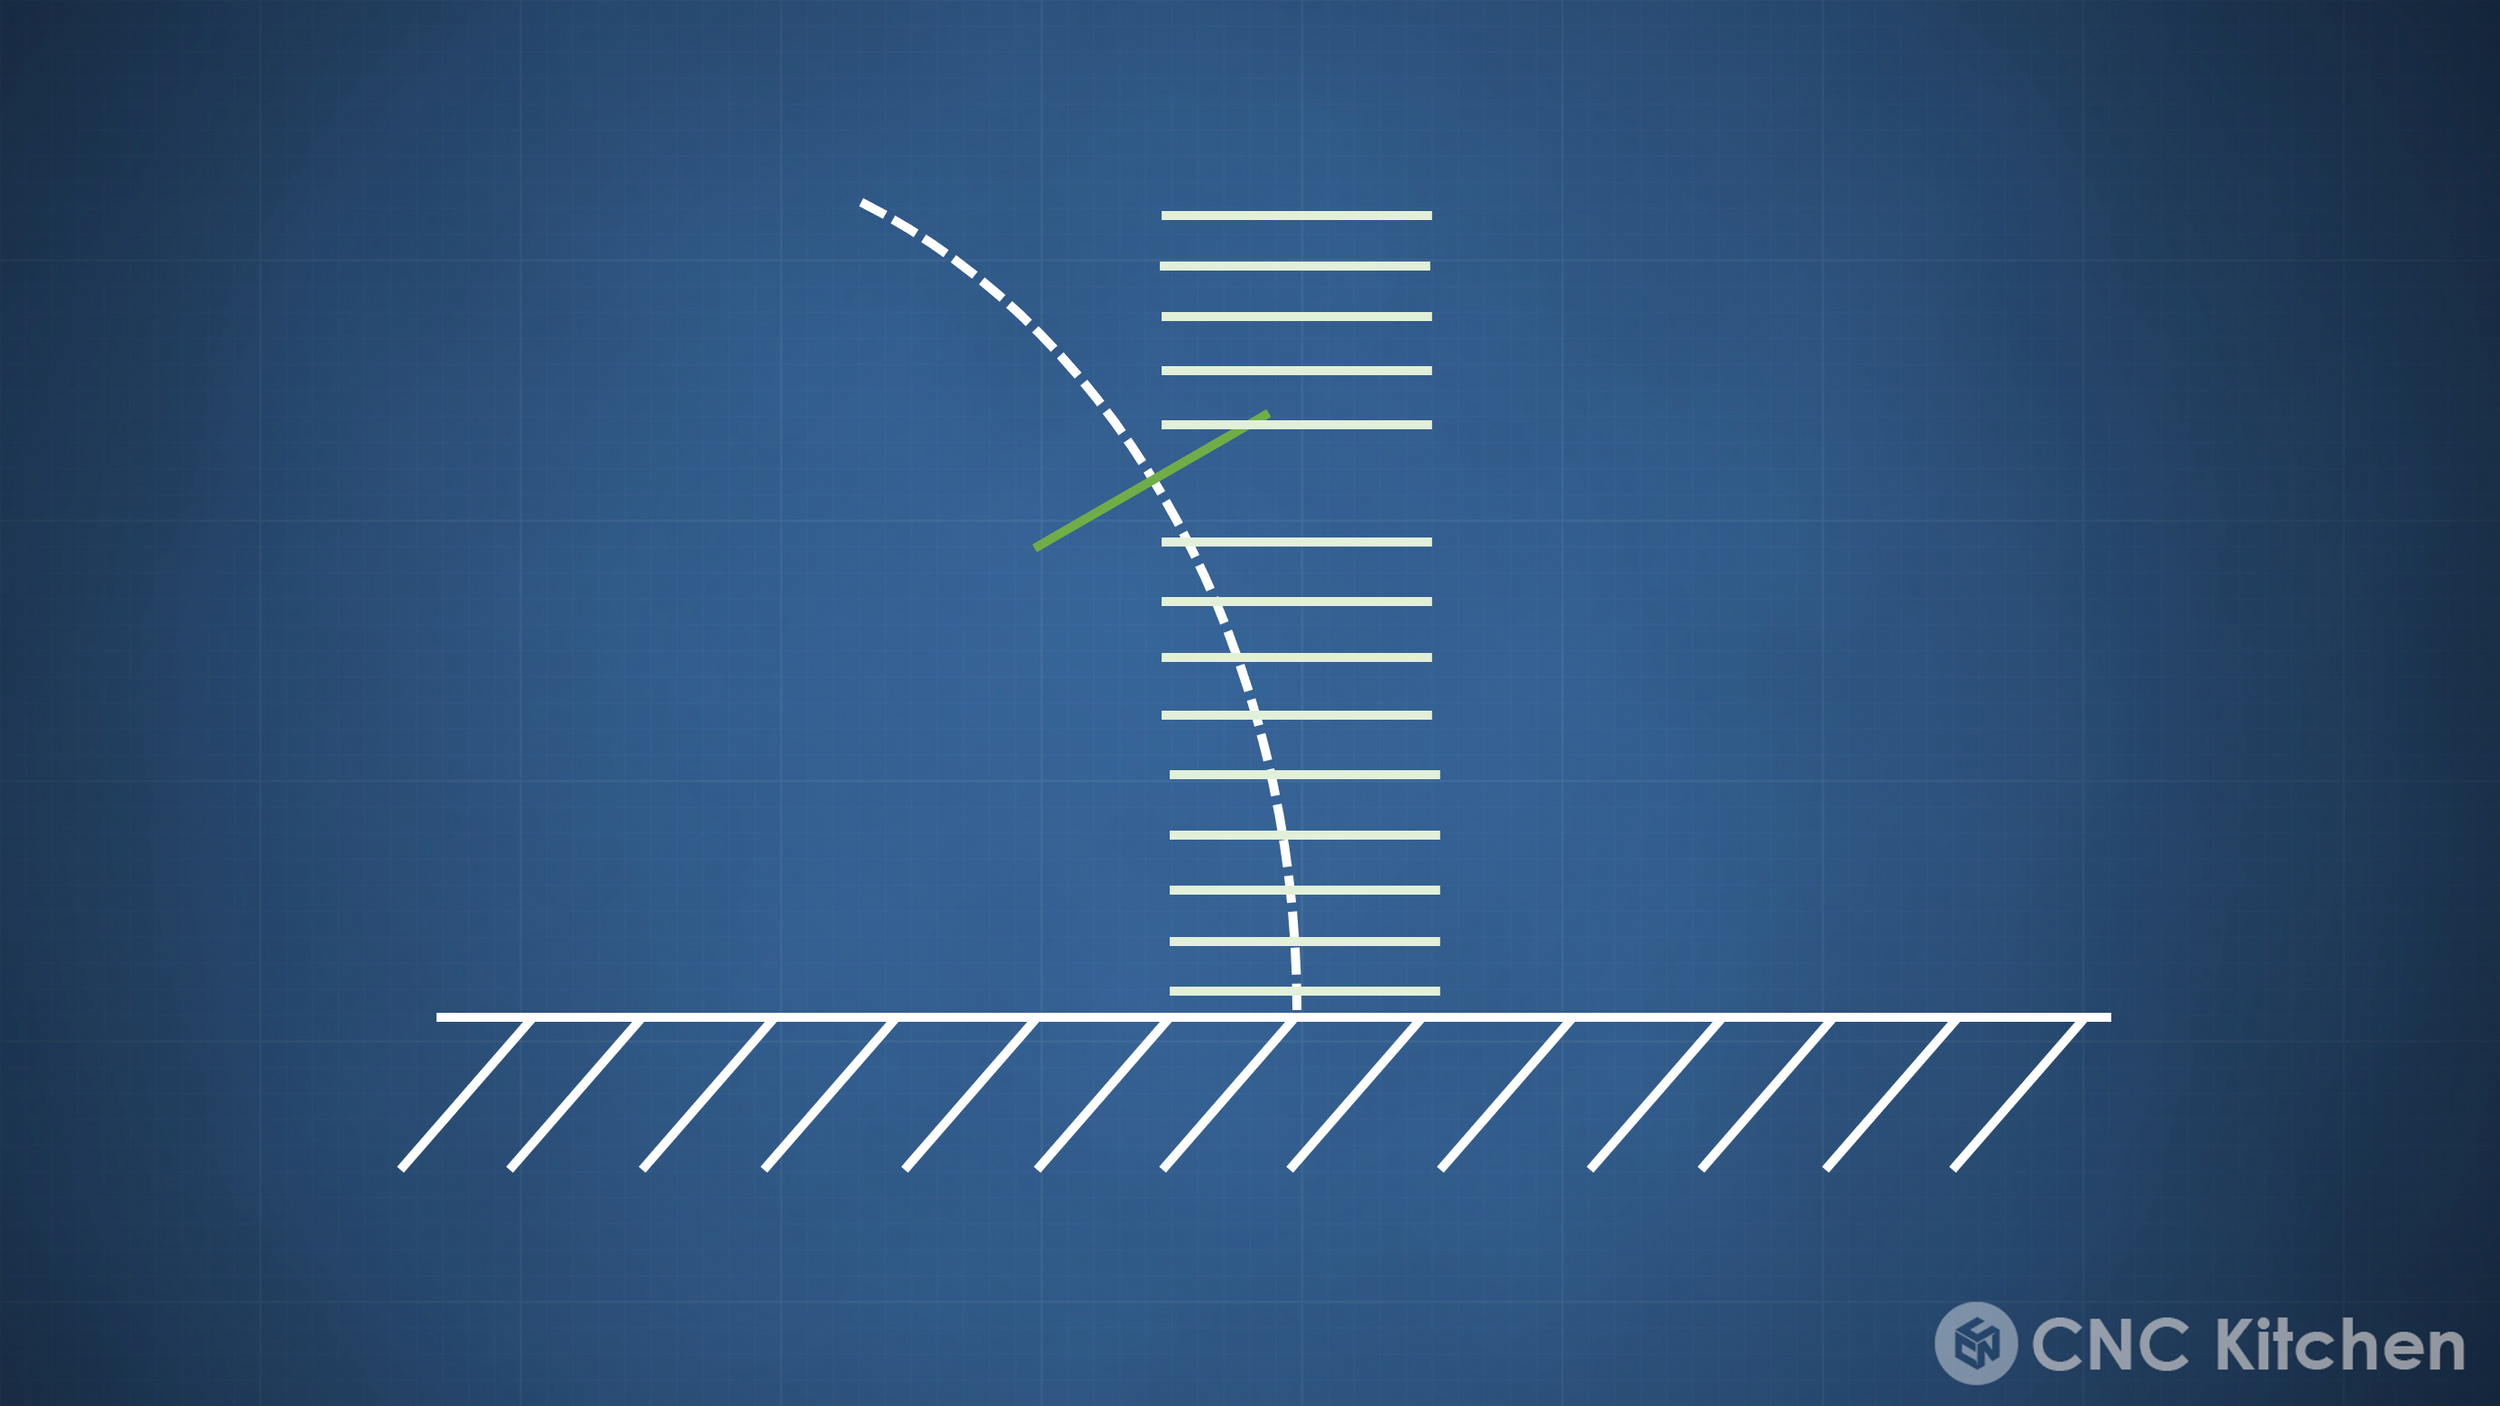


So let’s look at our results! GCode viewers seem to have a bit of a problem displaying the result, so please be aware that some lines look a bit strange. And just that simple, we’ve created non-planar GCode where the printer continuously uses all of its axes in a significant way instead of just stacking individual layers on top of each other. This makes the printing process look really mesmerizing and the final parts look beautiful especially with the dual extrusion filament!
My code still looks horrible, but I’ve, of course, shared it on GitHub for anyone to look at, use, and edit it. It’s a bit buggy and limited, but it can not only deform vase prints but it even works with regularly sliced parts like this 3DBenchy or my Mini Stefan. The bent parts look super smooth with dynamically changing layer heights with thin sections on one side and thick ones on the other!
GitHub: GCode Bending Python Script
You might have noticed it already, but non-planar printing comes with its own challenges. If you don’t have a way to tilt your printhead, you are quite limited in the slope that you can print. Most obviously, there is clearance. I first started printing on my Prusa but quickly noticed that the fan shroud and bed sensor are so close to the nozzle plane that barely any non-planar printing is possible. I quickly switched to my E3D Toolchanger, where I have a Volcano tool installed that I turned by 90° so that its thin side is in the non-planar axis. I also removed the silicone sock because even that was in the way. And most importantly, the nozzle itself has a massive impact on the angle printing capability. E3D nozzles have a pretty short tip, and the 7 mm hex stands out quite a bit. Therefore, I installed a CHT nozzle in my Volcano heater block by using one of our Volcano adapters now available over on cnckitchen.store.
Volcano Adapter Installation
They bridge the length difference to a Volcano nozzle and let me use any of my old V6 nozzles on a Volcano hotend! Pretty cool! The new nozzle and the adjusted part cooling shroud gave me quite a bit of room for angled printing. These were the challenges on printer-level, but even the tip geometry of your nozzle limits what you can and can’t do. If the tip is too wide and the layers too thin it will at some point start plowing through your already printed material, and I had quite some failures until I determined that everything above around 30° angle isn’t really doable with my setup. Still, I was able to print an assortment of bent tubes and pipes for my daughter’s ball run, which are quick to print, look better, and due to the bent, are more versatile!
Ball Run attached to our window
I’m not the first one who came up with the idea of non-planar 3D printing. There is a 2015 patent from Autodesk on a method, and I’m sure you’ve seen videos about Daniel Ahlers Slic3r implementation of non-planar slicing. It can produce some really nice top layers but is very limited in that it only works on the upmost surface of your part, and getting it to run in the first place is challenging on its own. Then there is Rene Mueller’s slicer that segments a print into different regions and then prints different sections at an angle which allows printing horizontal overhangs without any support structure. And a 4 or 5 axis printhead allows for even more complex printing! This is a fantastic proof of concept but is currently very limited due to the segmentation process. FullControlGcode is another way to do non-planar 3D printing, but here you don’t slice an STL but program your GCode manually with mathematical functions. Great for artistic parts and niece applications but not the next non-planar slicer. There are even more examples of non-planar 3D printing with multi-axis CNCs or robot arms, that are commercially available. Still, besides not being something for the home user, these aren’t usually processes where you load in your part and automatically get working code. This nicely illustrates the problem with non-planar 3D printing. Hardware isn’t the problem because all our 3D printers can easily run all their axes simultaneously. The big problem is software. Regular 2.5D slicing is super easy; you slice your stl with a plane and get all the perimeters which get then filled with 2D moves. Doing that for each layer and just lifting your nozzle after each one gives you your final part. No risk of crashing the nozzle, no challenge of sectioning your part or identifying surfaces that could be printed in a non-planar fashion. This is why even commercial software still struggles with complex geometry and why there is no easy open-source solution at the moment. It’s just complex and complicated.
Non-Planar Printing
My approach is definitely no rocket science, revolutionary, or the perfect solution for all our non-planar desires. Yet I think it’s an idea that can have potential for some applications because it uses a conventional slicer and then just modifies the GCode a bit. I’m currently just bending my GCode on one plane, but you could easily do that in three dimensions or use a mesh over the whole print volume and use interpolation to deform the whole print space smoothly. I personally don’t have the time and skill to do that myself, but I’m good at communicating ideas, so if I inspired you, please go ahead and make something really cool out of this idea! And everyone else, please leave your thoughts and ideas down in the comments and if you enjoyed the video, hit the like button and consider subscribing!
Further Links & References
GCode bending script: https://github.com/CNCKitchen/GCodeBending
GCode bending with Blender: https://github.com/Heinz-Loepmeier/nozzleboss
Autodesk Patent: https://patents.google.com/patent/US10005126B2/en
FullControl G-Code: https://fullcontrolgcode.com/
Non-Planar Printing Master Thesis: https://tams.informatik.uni-hamburg.de/publications/2018/MSc_Daniel_Ahlers.pdf
Rene Mueller XYZDims: https://xyzdims.com/2021/04/29/3d-printing-non-planar-balcony-overhang-with-3-axis-fdm-printer/
Paper on Supportless Overhangs from ZHAW: https://www.mdpi.com/2076-3417/11/18/8760
CurviSlicer: https://github.com/mfx-inria/curvislicer


