Eco PLA filament with Spent Coffee Grounds
I really enjoy my morning cappuccino, so I thought, why not use the leftover spent coffee grounds and add them to 3D printing filament. But why add coffee to a polymer? Polymer additives can be separated into three groups: reinforcing additives like glass or carbon fibers that improve mechanical properties, functional additives like plasticizer or impact modifiers which act more on a micro or molecular level and the third category which are fillers. Fillers are usually cheap materials to add volume and reduce the price of the final product. Spent coffee grounds are a filler and maybe actually pretty good ones, ecologically and economically speaking. Economically because, it’s a waste product that is widely available. Ecologically because it reduces the use of polymers and pigments and as an organic filler might even improve compostability when added to something like PLA. The coffee particles increase the surface area, absorb more moisture, and act as fertilizer during composting. I’m currently even running a composting-at-home experiment to determine what happens to biopolymers in a non-industrial compost. I’m quite curious how coffee PLA will do there. If you don’t want to miss the results, make sure to subscribe and select the notification bell!

Broken Up Espresso Puck
Now quickly some trivial knowledge, but still pretty interesting! In preparation for this video and researching coffee and spent coffee grounds, I wondered how much mass of the coffee that we put into the portafilter ends up in the cup and how much is disposed of as our spent coffee grounds that could be used as a filler. To quickly test this, I brewed a bunch of coffees for which I meticulously weight the ground coffee before the brewing process and then after drying the pucks for 18h at 100°C in an oven. Freshly roasted coffee still contains a bit of moisture. To take this for our later calculations into consideration, I also added freshly ground coffee into the drying oven to figure out the moisture content which turned out to be 2.6%.

Moisture analysis - fresh coffee grounds
In order to calculate the extraction yield, so the amount of coffee substances that were transferred to the cup during brewing, I subtracted the 2.6% of moisture from the initial coffee powder weight. Taking all of this into consideration, the extraction yield was an astonishing 22% on average, which really impressed me because I thought it was way less. Further research showed this amount was in a very plausible range for espresso (20-25%) [4].

Extraction Yield Test Results
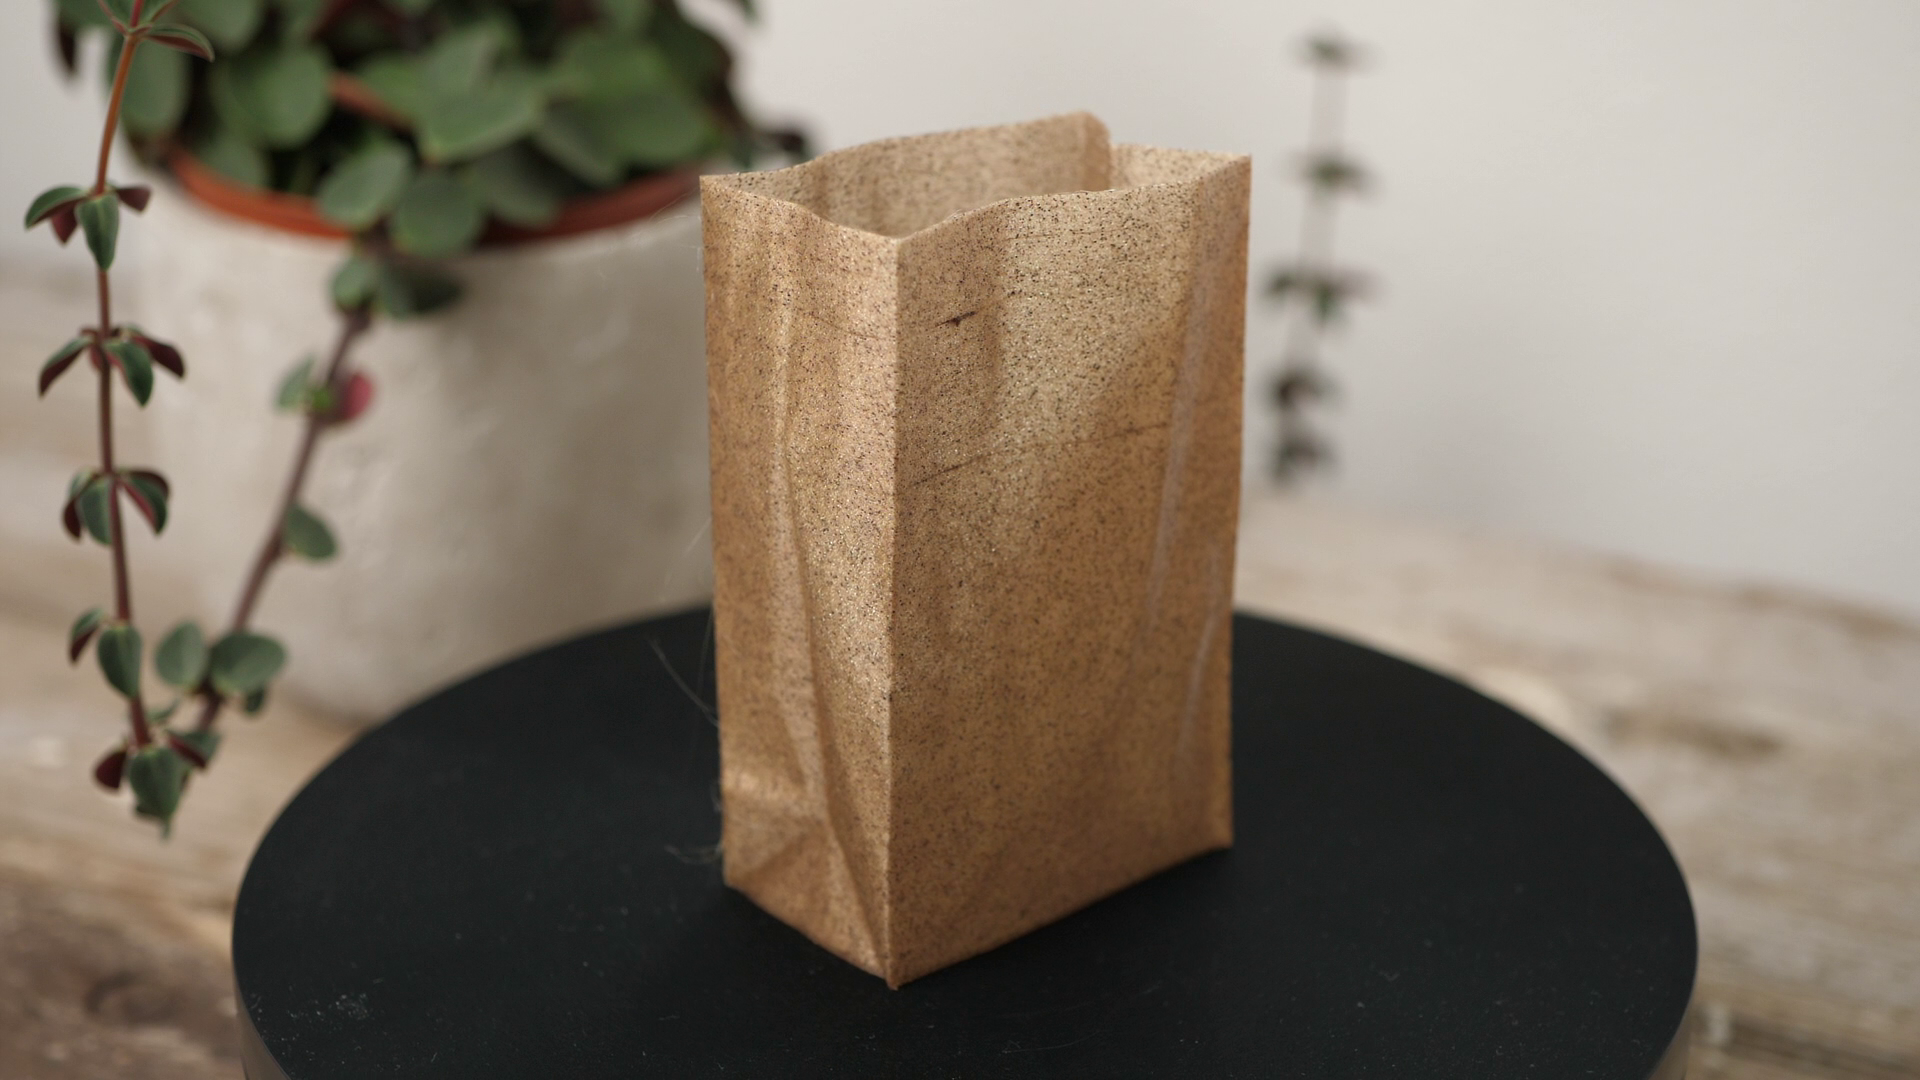
To make my coffee filament, I collected even more pucks from my coffee maker that contain the remaining 78% of the beans and then dried them overnight in a food dehydrator. Since we usually drink espresso, the coffee grounds were already quite fine. I still thought it was good to use the most favorite kitchen tool of Germans, the Thermomix, to blend it even more. After a bit on the highest speed, I ended up with a nice and fine powder that, so I thought, was ready to make some filament.
I went down into my basement and started preheating my 3DEVO Desktop Filament Extruder that I currently still have at my disposal. Once the heating zones were at the temperatures for extruding PLA, which is around 180°C, I added some plain PLA pellets first to purge out the leftover material that was still in the barrel from its last use. Once clean PLA came out of the nozzle, I extruded around 200g of clear PLA that we’ll use for our reference prints when we later test the strength of our coffee grounds composite PLA.

Spool of clear PLA winding up on the 3DEVO Composer 450
While the spool was slowly filling, I premixed 250g of virgin PLA pellets with 5% of our spent coffee grounds and shook everything well to distribute the filler evenly. Why 5%? Because this was a starting ratio that was recommended to me, and we can later always try more. The coffee stuck nicely to the pellets, which should help us with even mixing of the polymer and the particles during the extrusion process. Once the roll of plain PLA was ready, I stopped spooling and added the pellet-coffee-mix to the hopper.

Coffee Particles Sticking to PLA Pellets
The material is then fed into the heating zone via an extrusion screw, where it melts and gets homogenized. At the end, the liquid mass comes out of a nozzle, get cooled, measured and then pulled to the proper diameter. It took around 10 minutes until the rest of the clear PLA was purged out, and I was able to see a change in color and material with tiny pieces of coffee in it.

Filament Extruding on the 3DEVO Composer 450
I noticed that the property of the melt changed as soon as I added the coffee grounds to the mix. The material came faster and more liquid out of the nozzle without changing any other parameters. The reason might be a higher melt flow index because the polymer either hydrolyzed due to moisture residue in the powder or the oils contained in the coffee grounds that act as a plasticizer. When the color and diameter stabilized, I started the spooling process and wound up a nice roll of golden-brownish filament with dark speckles in it.

Coffee PLA on the spool
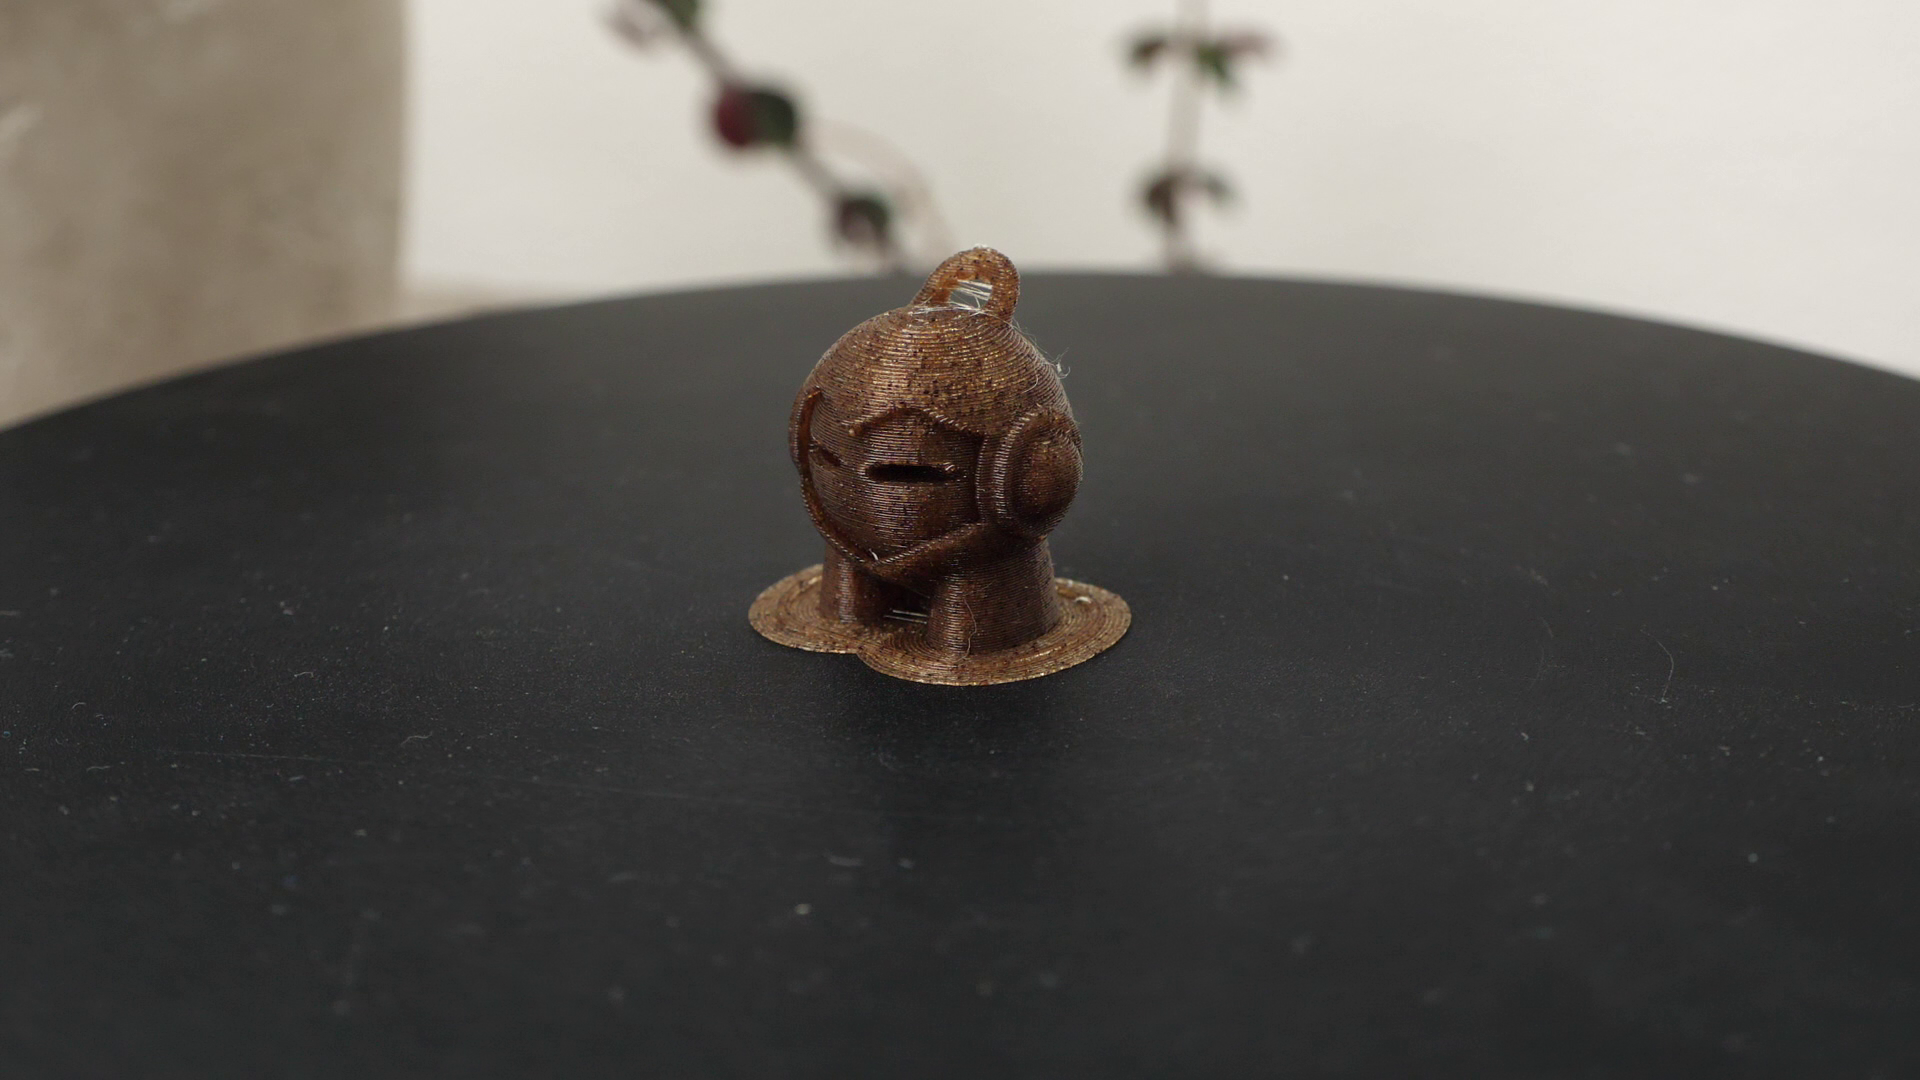
Before continuing with any other tests, I took the roll for a spin. I loaded it into my Prusa Mk3 and started a first print, which worked great….until after a bunch of layers, the nozzle clogged. So, I cleaned it out and restarted it, only to again end up with the same problem. What happened? My Prusa has a standard 0.4mm nozzle installed. If we’re adding the coffee grounds to the filament and there is only a single grain larger than this diameter, the printer will clog. For this reason, I switched to a 0.6mm nozzle and was able to continue printing without an issue. The material seemed a bit stringy, which I also experienced with other wood fills in the past. Otherwise, the parts turned out really nice! Unfortunately, only using this material with a larger nozzle wasn’t an option for me. Who knows if there is another particle in the filament that might even clog a 0.6mm nozzle.


0.4mm nozzle under 60 mesh sieve
This is why I ordered a 60-mesh sieve which has a hole size of around 0.25mm. Since this is smaller than our 0.4mm nozzle size, it should make sure that there are no particles in the coffee grounds that can block the nozzle.
Due to the stringing I got with my first batch of coffee PLA, I re-dried the leftover coffee grounds for 4 hours at 100°C in my oven and then sieved them. Interestingly, a substantial amount of particles didn’t make it through the sieve, which shows how many potentially dangerous particles were still in the mix. I tried further grinding the leftovers in a mortar but only had little success. A ball mill might be really beneficial for such an application.

(from left to right) Fresh Coffee Grounds, Spent Coffee Grounds, Sieved Coffee Grounds (60 mesh) & Leftovers from sieving
Using the sieved, spent coffee grounds, I extruded two more rolls of material, one with 5% coffee content, the other one with even 10%. The first one where I again only used 5% of additives turned out beautiful with an awesome color! Unfortunately, the 10% spool caused me quite some trouble. Even with the mixing screw of the extruder, there were regular lumps of coffee in the filament, which made it brittle at that location and could potentially cause problems during printing.

Lump of agglomerated coffee grounds in the filament
My 3DEVO Composer uses a mixing screw where the tip has a specific structure that should improve mixing but it seems that even this wasn’t enough. In industrial applications usually a twin-screw extruder is used for something like that where the material really gets thoroughly mixed. Even though I don’t have something like that, I still have some tricks up my sleeves like mixing the coffee grounds with ground up pellets to increase the surface area so that the materials can better stick to each other, but that has to wait a little more. If you have any experience with that, please let me know!

(from top to bottom) 10% Coffee PLA, 5% Coffee PLA, 5% Coffee PLA (un-sieved)
Printing the spool with 5% coffee PLA on the Prusa Mk3 with a 0.4mm nozzle worked great, and I didn’t have a single clog anymore. Parts turned out well, with beautiful color and texture. Unfortunately, the 10% coffee content material was not printable, even using a 0.6mm nozzle because the small orifice constantly clogged every time a lump of coffee grounds tried to pass it.


Let’s now talk about the smell during printing. There was definitely an odor in the air after the parts were printed. Unfortunately, the smell wasn’t as nice as when entering a coffee house, though there was a roasted, though almost burnt sweetness in the air. This is kind of understandable because for once, coffee aroma is quite volatile. Since the coffee grounds in the filament were brewed and dried for a substantial amount of time, there isn’t that much of the initial fragrance left. This doesn’t mean that 3D printing coffee filament smells bad; quite the contrary, similar to wood-filled materials, it’s actually quite pleasant, just maybe a bit underwhelming if you’re expecting freshly brewed coffee.
Let’s finally also look at the strength of our coffee PLA and if it could still be used for more than decorative purposes. For this, I printed tensile samples and a test hook in the clear PLA that we extruded in the beginning and our second batch of 5% coffee PLA.
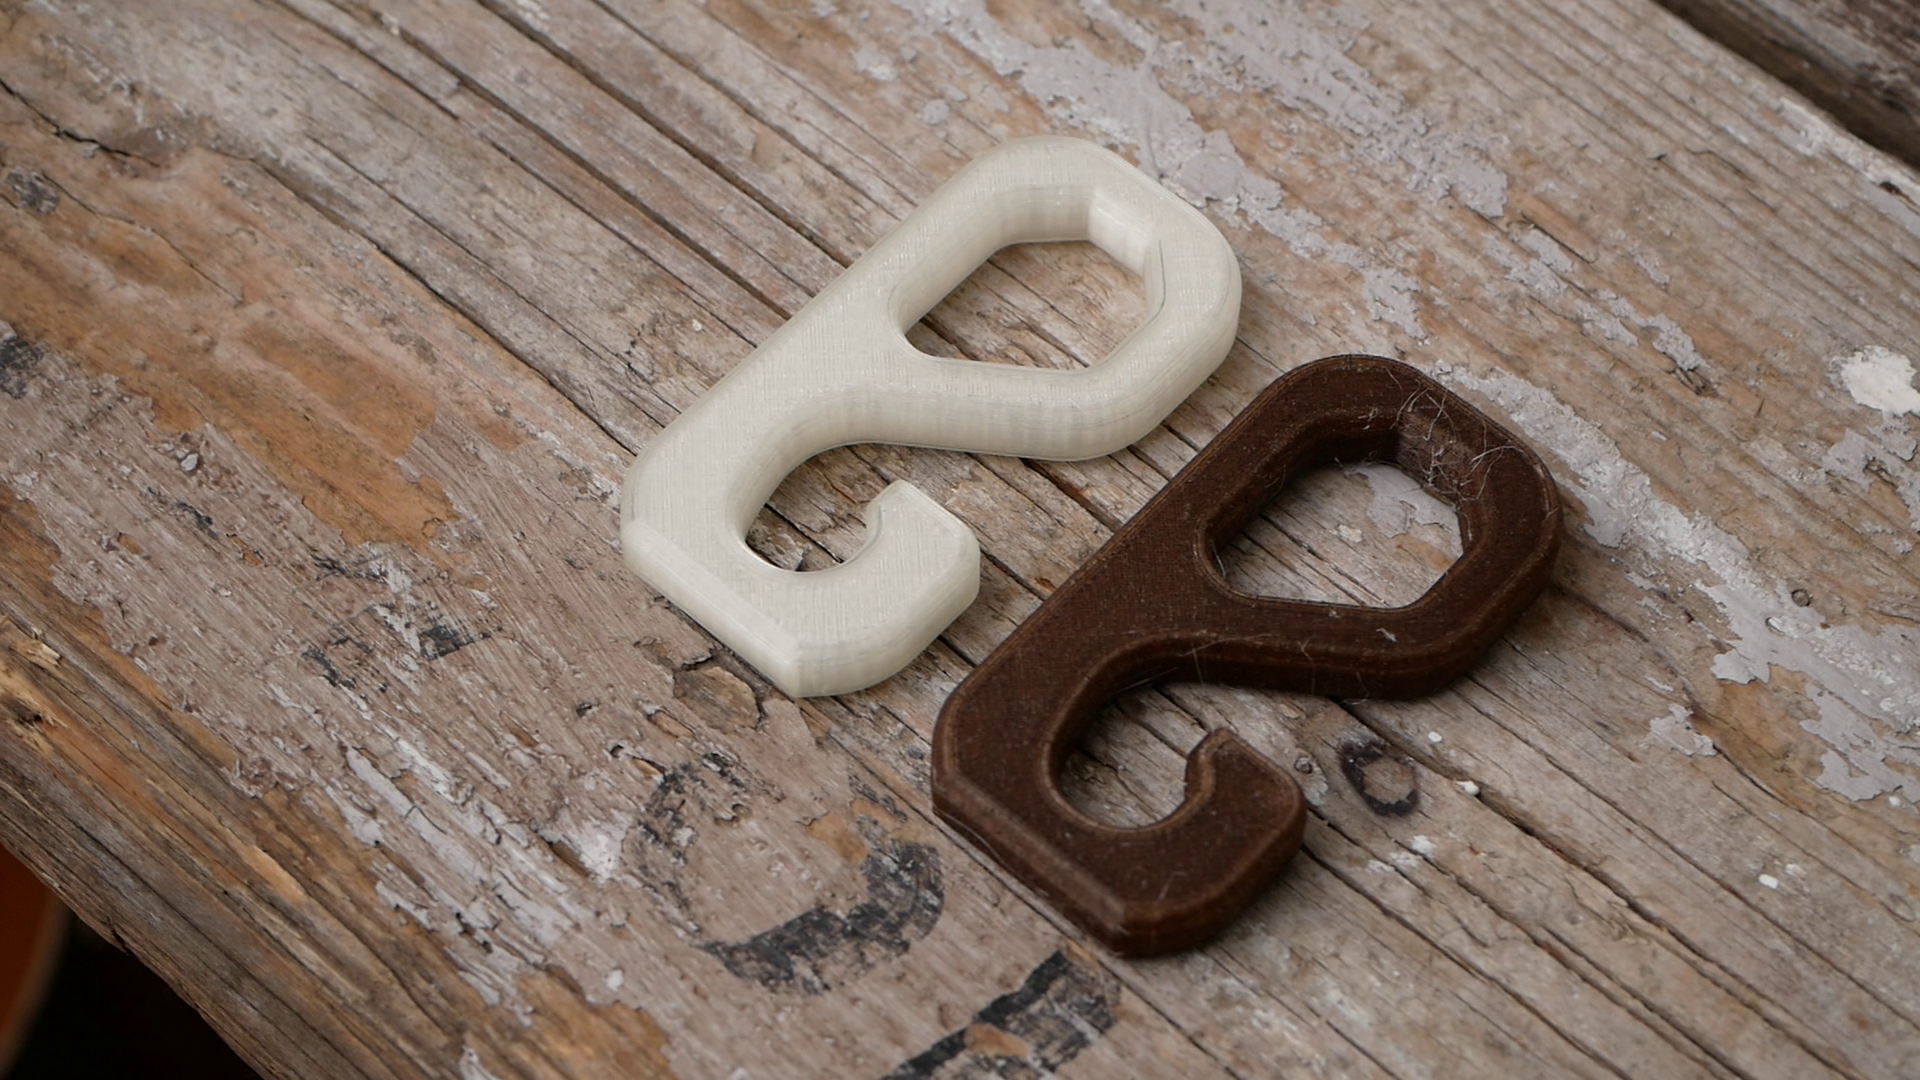


Then I mounted them one after the other in my DIY universal test machine and loaded them until failure. First, the samples that were printed horizontally. Plain PLA was able to bear 58 MPa on average, whereas the material filled with coffee grounds was 10% weaker and failed at 53 MPa. The samples that were printed standing behaved similarly with 35 MPa failure stress for plain PLA and 27 MPa for the coffee PLA.


The test hooks showed very similar results. The one printed in plain PLA failed at 69 kg and the one printed in coffee PLA at 61 kg. So, we see a degradation of properties but not by a lot. This bio-composite still seems to be able to take some beating. I’d be really interested to know how the properties further degrade with higher coffee contents, but that needs to wait until I figure out proper mixing.


So this was my experience with 3D printing filament made with spent coffee grounds. I learned a lot about the process and really look forward to further experiments. But what’s your opinion? Let me know if you would buy such a filament and for which reason? Is it the ecological aspect, the texture and the color, or is it even the smell?
📖 Further Links & References:
[1] Boten – Kunstofftechnik: https://geni.us/DbU38
[2] https://www.researchgate.net/publication/309152749_Sustainable_biodegradable_coffee_grounds_filler_and_its_effect_on_the_hydrophobicity_mechanical_and_thermal_properties_of_biodegradable_PBAT_composites
[3] https://www.scielo.br/j/mr/a/c5PMrtzCq6Tf6tQBXpHRBmg/?lang=en&format=pdf
[4] https://en.wikipedia.org/wiki/Coffee_extraction
[5] https://www.sciencedirect.com/science/article/pii/S221478531931627X