ARTILLERY Hornet 3D Printer - First Look
I usually don’t post write-ups of live streams that I did because it doesn’t happen that often that I’m really impressed by a product right after unboxing it. This time it was a little different and even though for the moment, this won’t be a full review I wanted to post my impressions on this beginner 3D printer that I got during the stream and also now, after using it for a bit. And c’mon this is probably still more useful than some of the so-called “reviews” that you find in other places. It still might be worth checking other opinions on the long-term reliability of this machine. So let’s go!
Price
At the time of writing this article, the Artillery Hornet started at a price of $240 even delivered from local warehouses all over the world so that you don’t have to worry about long shipping time and import taxes. At this price point, it directly competes with the other entry-level 3D printers like the Ender-3 V2. Check the affiliate links below for the most recent prices:
AliExpress: https://geni.us/8NBW
Banggood: https://geni.us/z91Zg3D
Amazon: https://geni.us/PY1ff
Specs
Print volume: 220x220x250 mm
Maximum Nozzle Temperature: 260°C
Maximum Bed Temperature: 120°C
Drive Type: Bowden with Titan-style Feeder
Nozzle Diameter: 0.4 mm
Bed type: Fixed, ceramics coated bed
System Voltage: 24 V
Materials: (primarily) PLA, PETG (make sure to add some glue stick on the bed) and TPU
Mainboard: Custom 32bit board with removable Silent Stepper Drivers
Firmware: Marlin 2.0
Interface: Full-size SD & USB (USB only for a serial connection)
Assembly
We assembled the Artillery Hornet on a live steam. It comes 95% pre-assembled and the only thing that is still left to do, is attaching the gantry to the frame, adding the extruder, and plugging in a bunch of calbes. All of that can be done in 5 minutes, with no special skills required, and all necessary tools are included in the kit. My manual came in English and German and didn’t only contain the assembly instructions but also went over bed leveling and Slicer setup.
Similar to most other printers nowadays it’s built from aluminum extrusions that make the frame quite rigid and if well machined should also ensure dimensional accuracy.
There’s also a bag of accessories delivered with the machine that contains spare wheels, an extra nozzle and a small bit of PTFE tubing. This was also the first printer ever that didn’t come with a filament sample and a side cutter. I don’t miss the filament sample because those are usually of questionable quality, the snippets though might have been useful for someone that this is their first printer.

One “dirty” secret reveled when I took a look at the hotend internals. The heartbreak is PTFE lined but there was a small gap between the end of the tube and the nozzle which is a potential risk for clogging. So if you ever encounter problems in that direction it might be worth checking that as well and replacing it with the PTFE that’s part of the accessories just as I now did. The print results you see below were all done with the initial PTFE.


Electronics
All of the electronics of the Artillery Hornet are integrated in an injection molded housing that seems to be of pretty good quality. Artillery utilize their own custom mainboard with a 32bit microcontroller on it. It comes with 4 removable silent stepper motor drivers that would allow easy replacement if any of them failed at some point. They do have heatsinks directly glued to the driver so I wasn’t able to find out what exact brand and model they use.


The power supply is 350W at 24V. Everything looks well-wired and routed with no exposed mains at any point. To avoid connections getting rattled loose, Artillery basically glued all of them in place with hot glue.
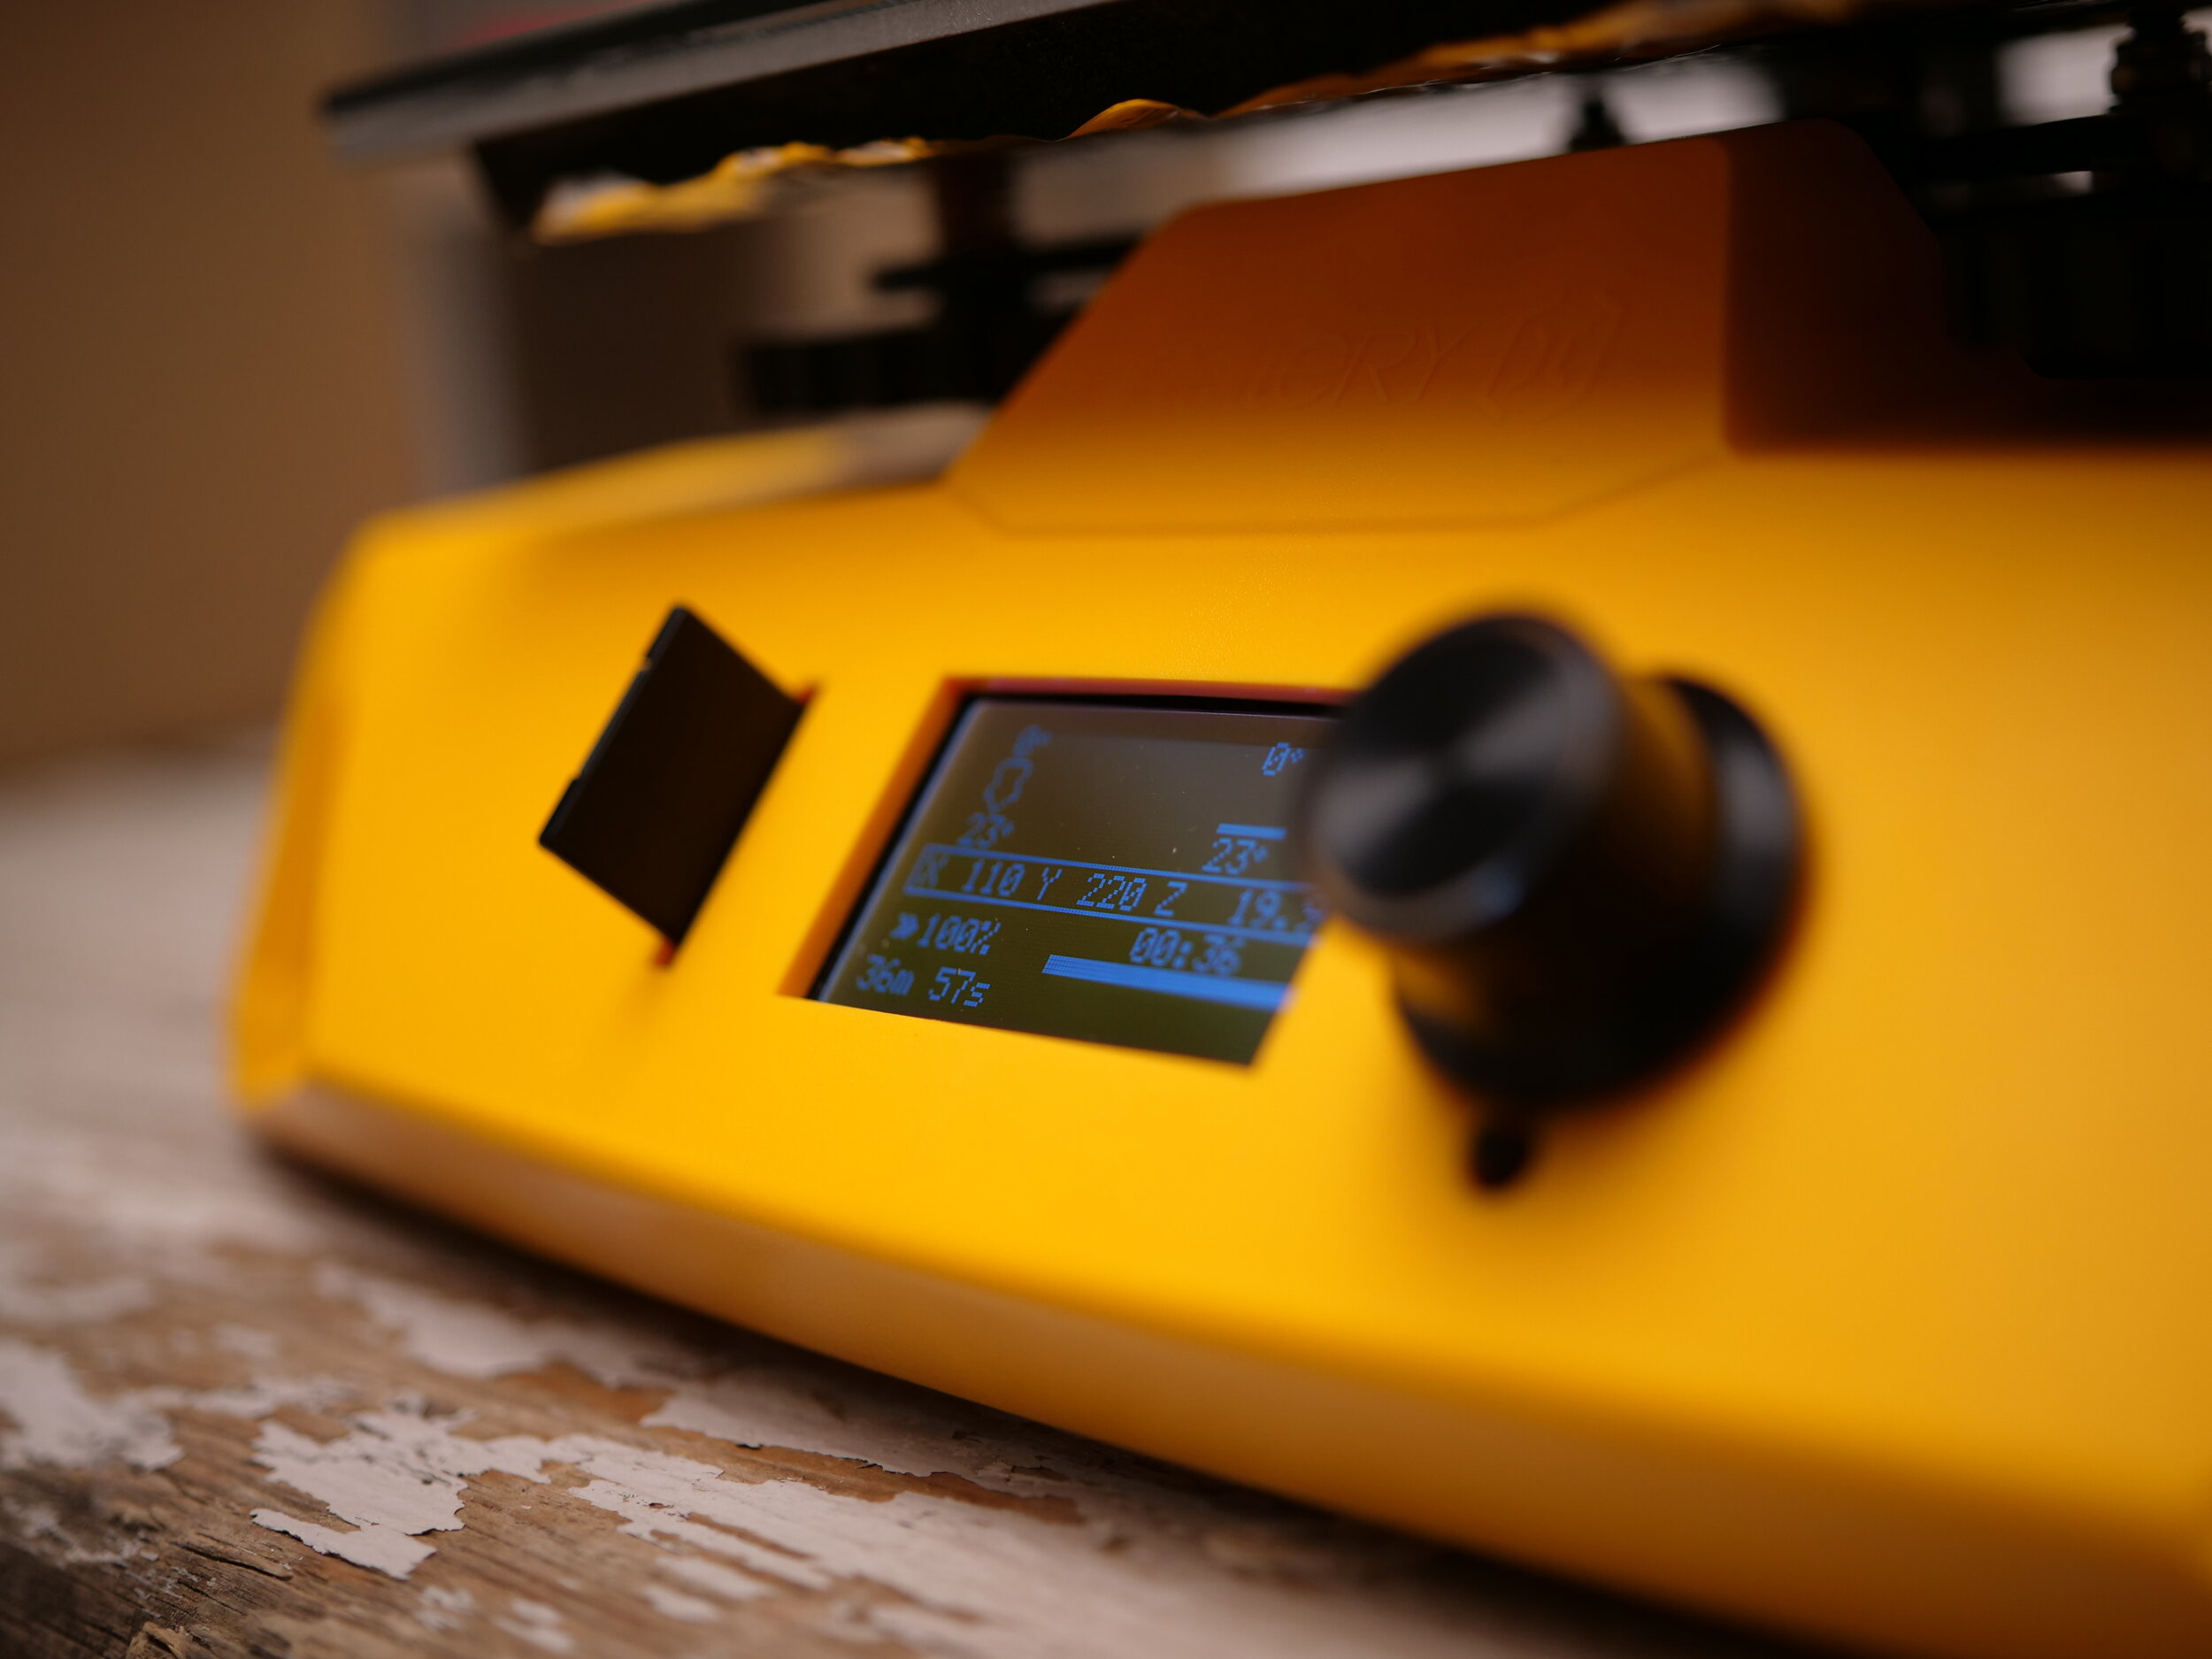
The Hornet uses a conventional Dot-Matrix LCD screen in front of the machine including an encoder wheel and full-size SD card slot. I’m totally okay with that setup because they use the standard Marlin firmware menus that are well-thought-out and give you the opportunity to change a lot of settings if you desire. I rather prefer this minimalistic setup over a barely working touchscreen.
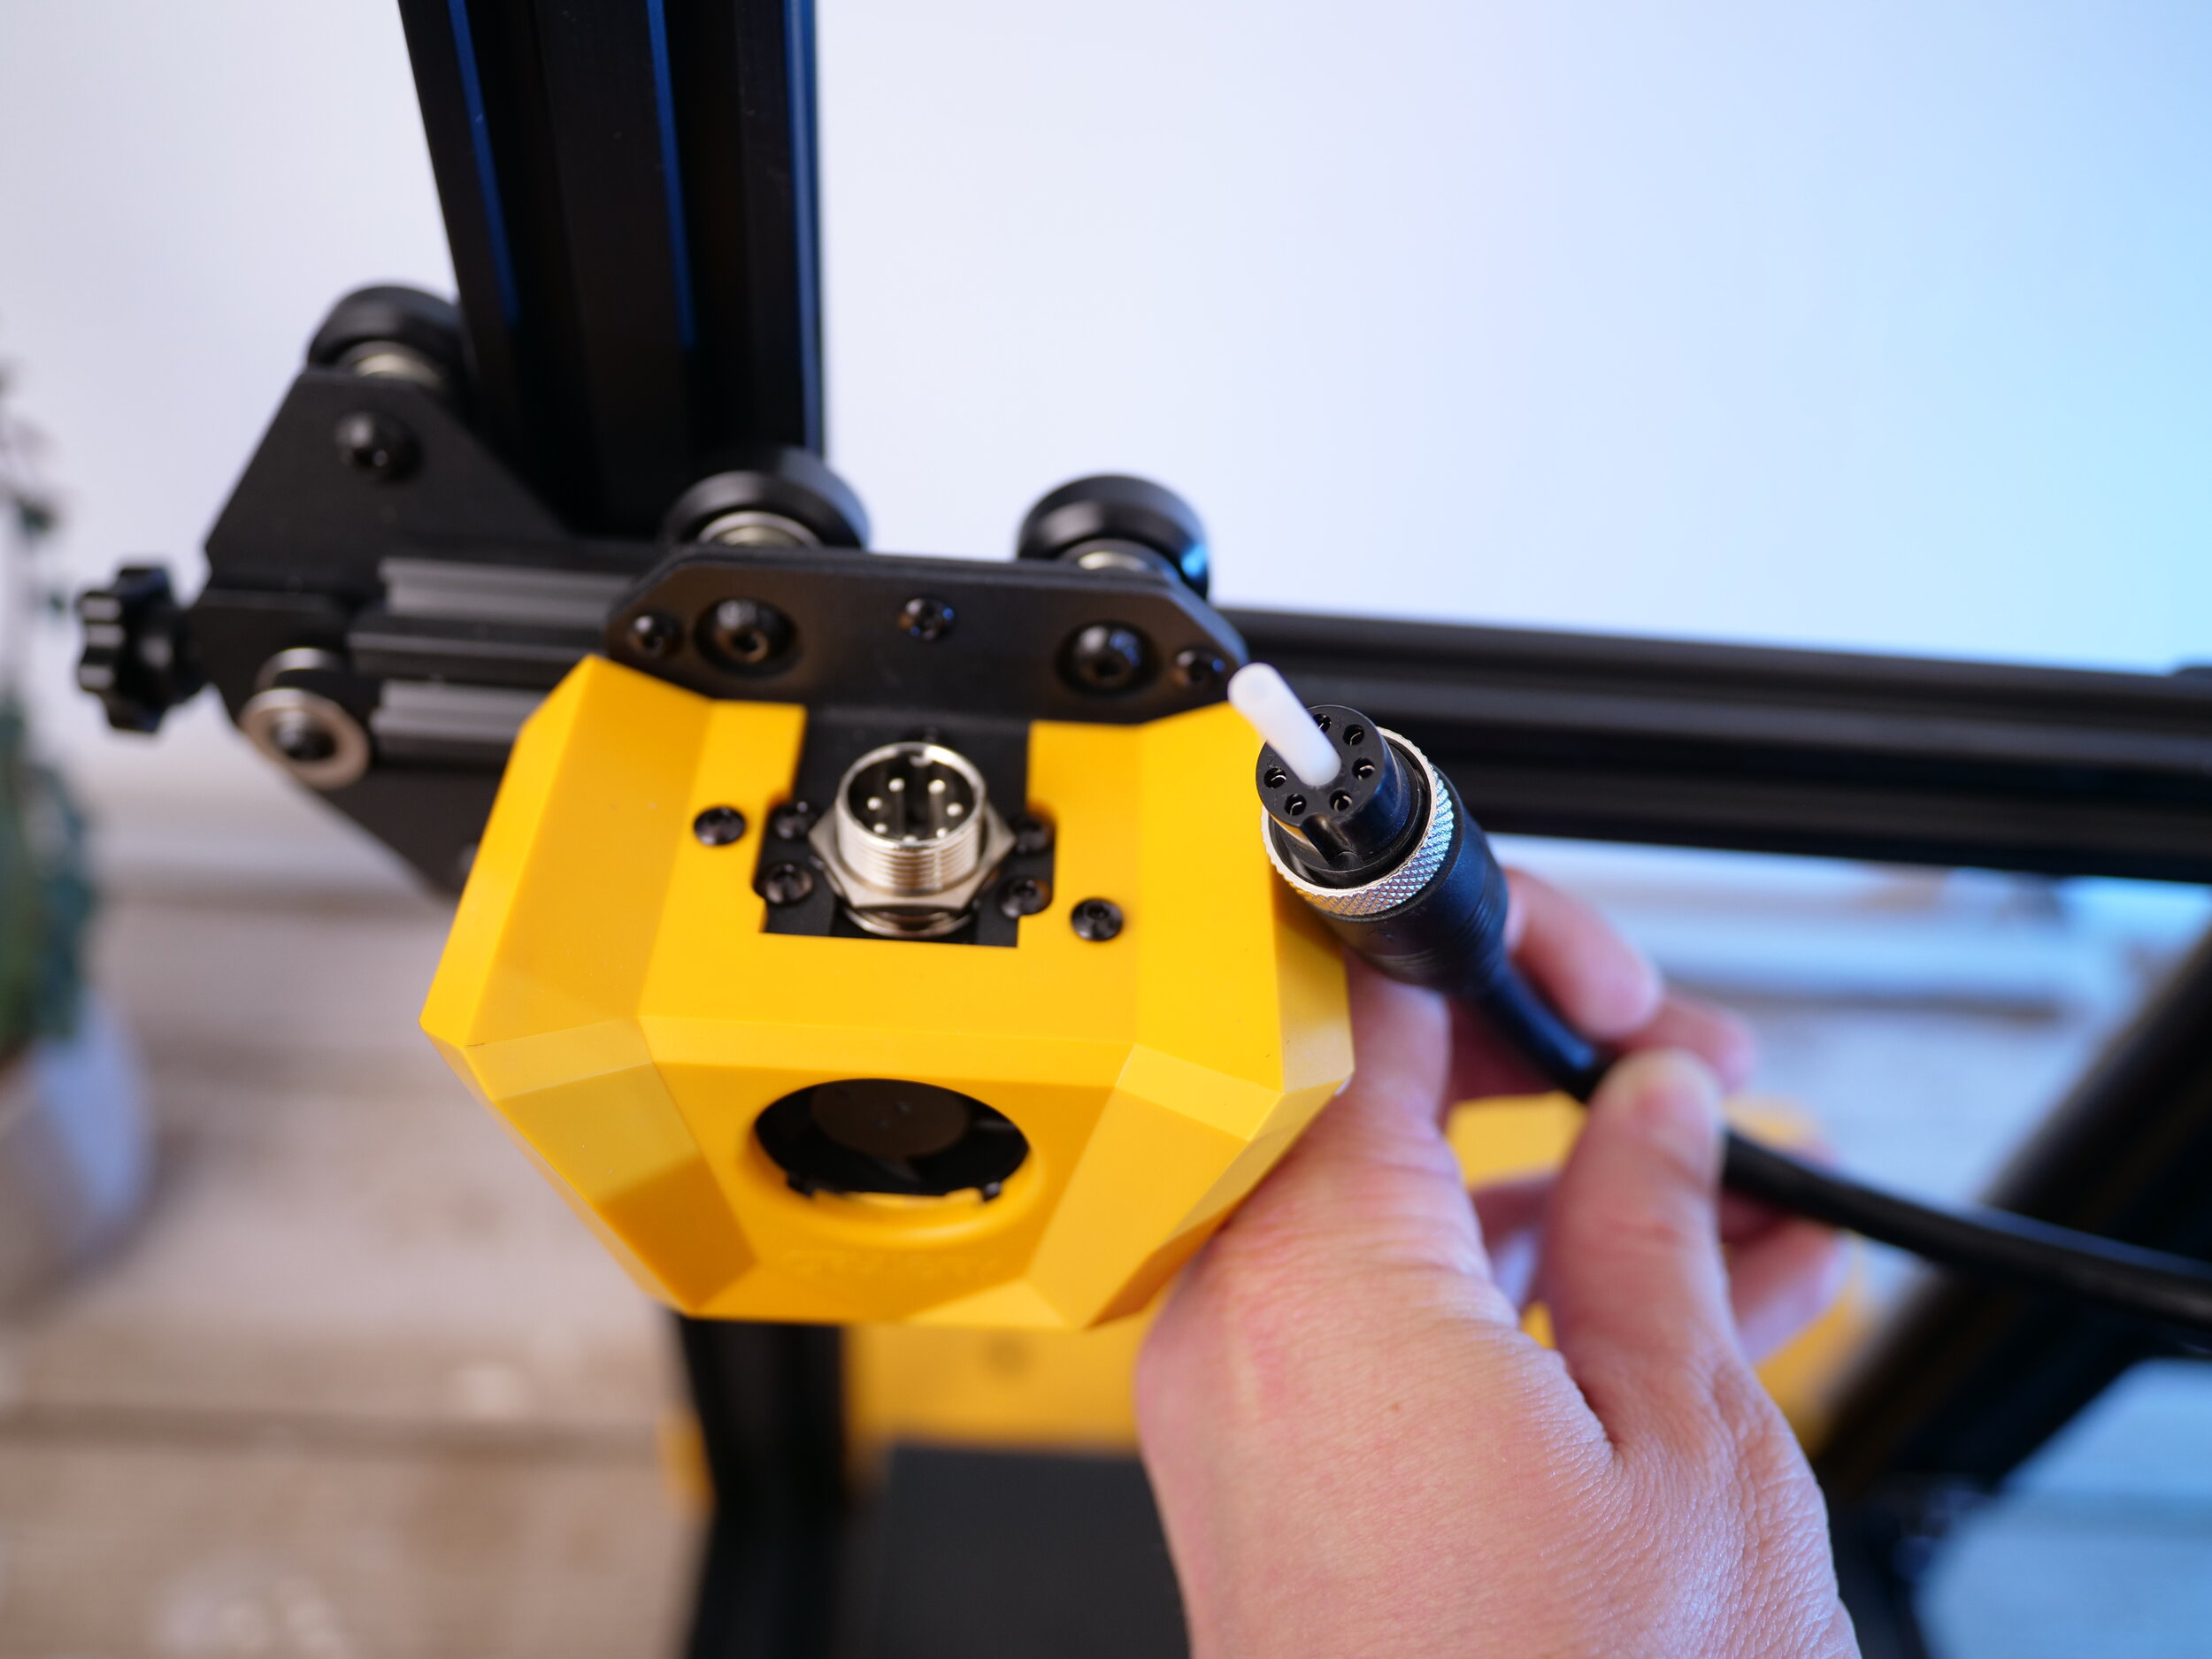
The most remarkable feature though is Artillerys novel wire harness management solution. Instead of a bunch of separate wires, they custom-made a cable that not only transmits power and signals to the printhead but also has an integrated Bowden tube for the filament. It also has aviation-style connectors on both sides with a screw cap. A pretty nice solution that makes the machine look even cleaner. The Bowden tube unfortunately doesn’t seem to be easily replaceable and I couldn’t find any whole replacement cables for sale so far. Since the Bowden tube doesn’t reach all to way to the nozzle and therefore shouldn’t get extremely hot I don’t fear that I’ll need replacement, soon.
Slicer Setup
Artillery provides a setup guide and profile for Ultimaker Cura on the SD card that I haven’t tried out myself. I directly used PrusaSlicer for slicing all of my test models. PrusaSlicer does not come with an integrated profile for the Artillery Hornet but the included Ender-3 profile works just as well, without any adjustments.
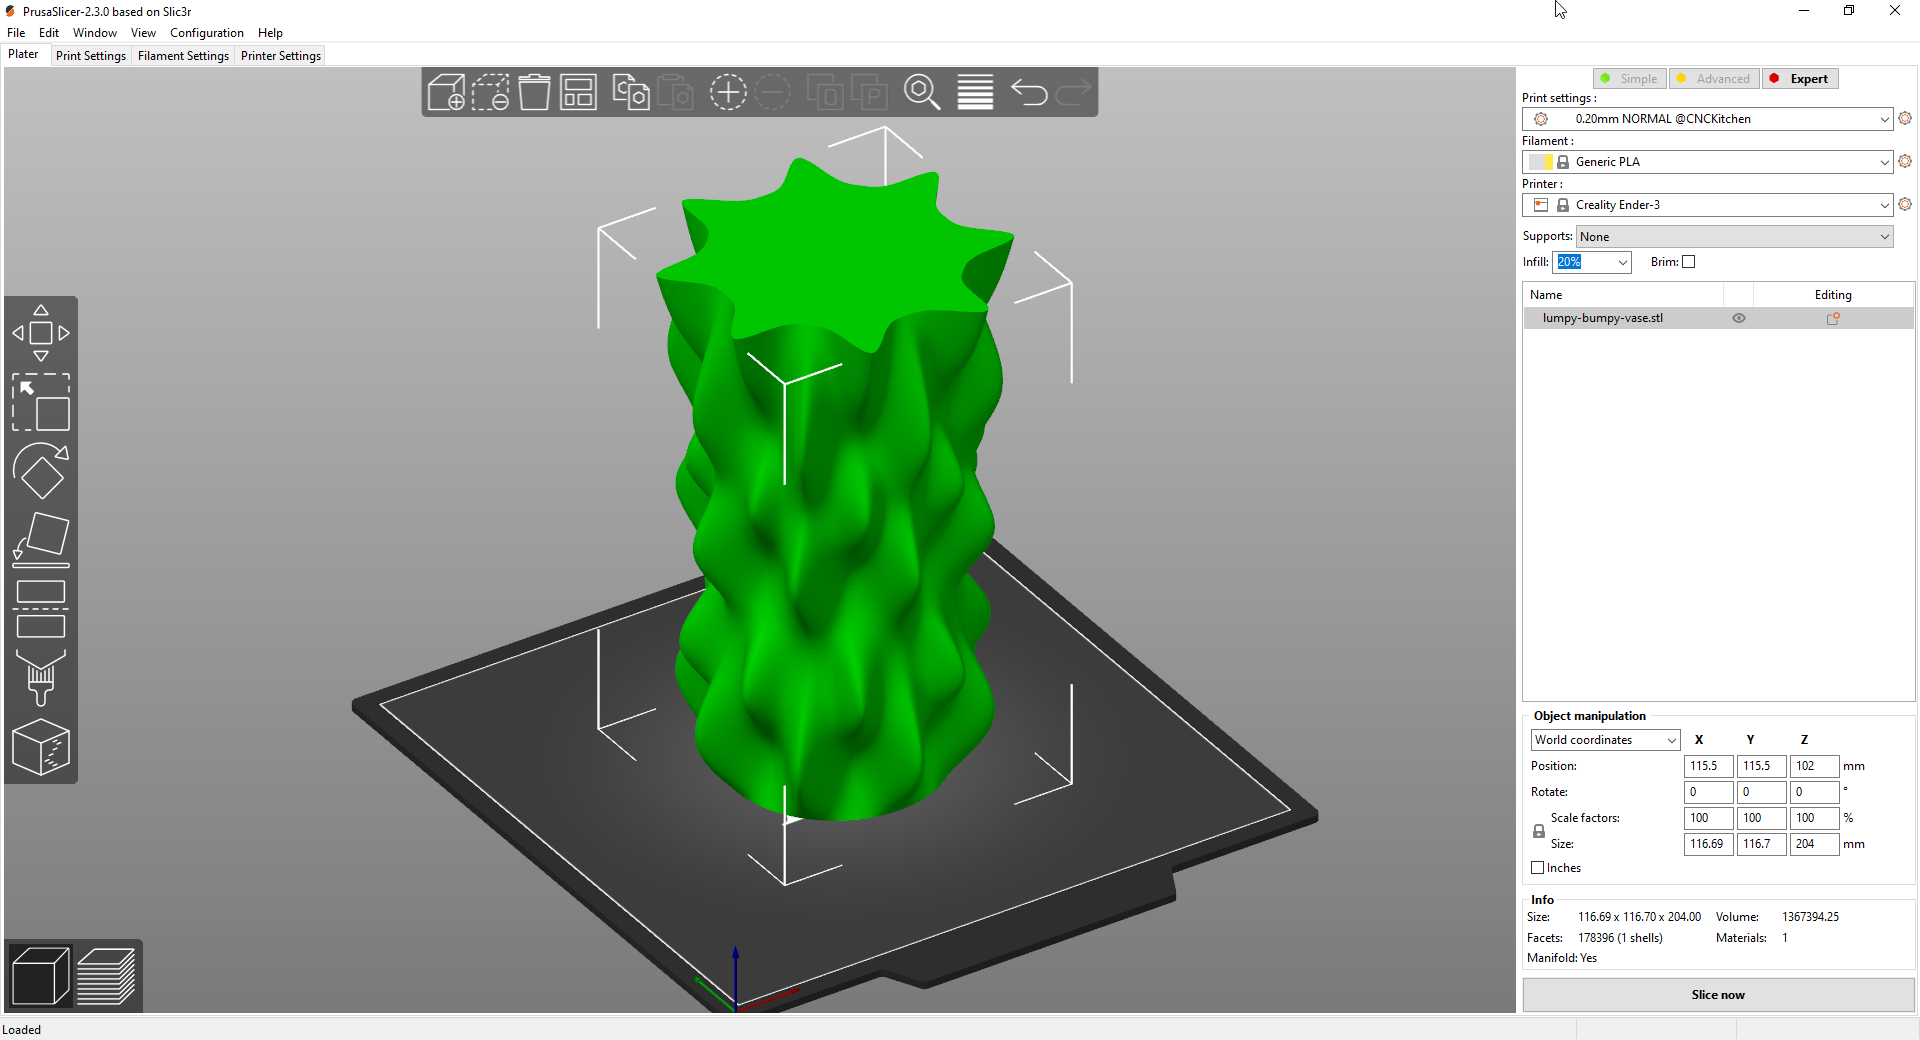
The Artillery Hornet works well with the integrated Ender-3 profile in PrusaSlicer
Print results
Everything that I printed so far came out really well! Nice and smooth surfaces. No z-banding artifacts and no salmon skin. Overhangs looked great due to the dual cooling fan setup and there was also barely any ringing on the surface visible. The only thing I was able to spot so far are tiny stutter marks on the “Lumpy Bumpy Vase” that has a lot of very small print moves. I’m not yet sure where that’s coming from but I’ll investigate that in more detail. All other parts didn’t show that phenomenon, so I’m not too worried that this might be a deal breaker.


Printing noise
One of the most annoying things for me is if a printer is really noisy during operation. This is probably the case because I’m spoiled by my Prusas and that I often work quite close to the machines. The Artillery Hornet does an almost perfect job in this regard. The hotend cooling fan only turns on, once the temperature is above 50°C and due to the silent stepper drivers, all of the movements are very quiet. Unfortunately, the power supply is very prominently hearable from the moment you turn the machine on. It’s a very constant noise, hence you get used to it quite quickly though I’m quite upset that Artillery didn’t go all the way and put something more pleasant one in there as well because otherwise, it would seriously be an almost noiseless printer.
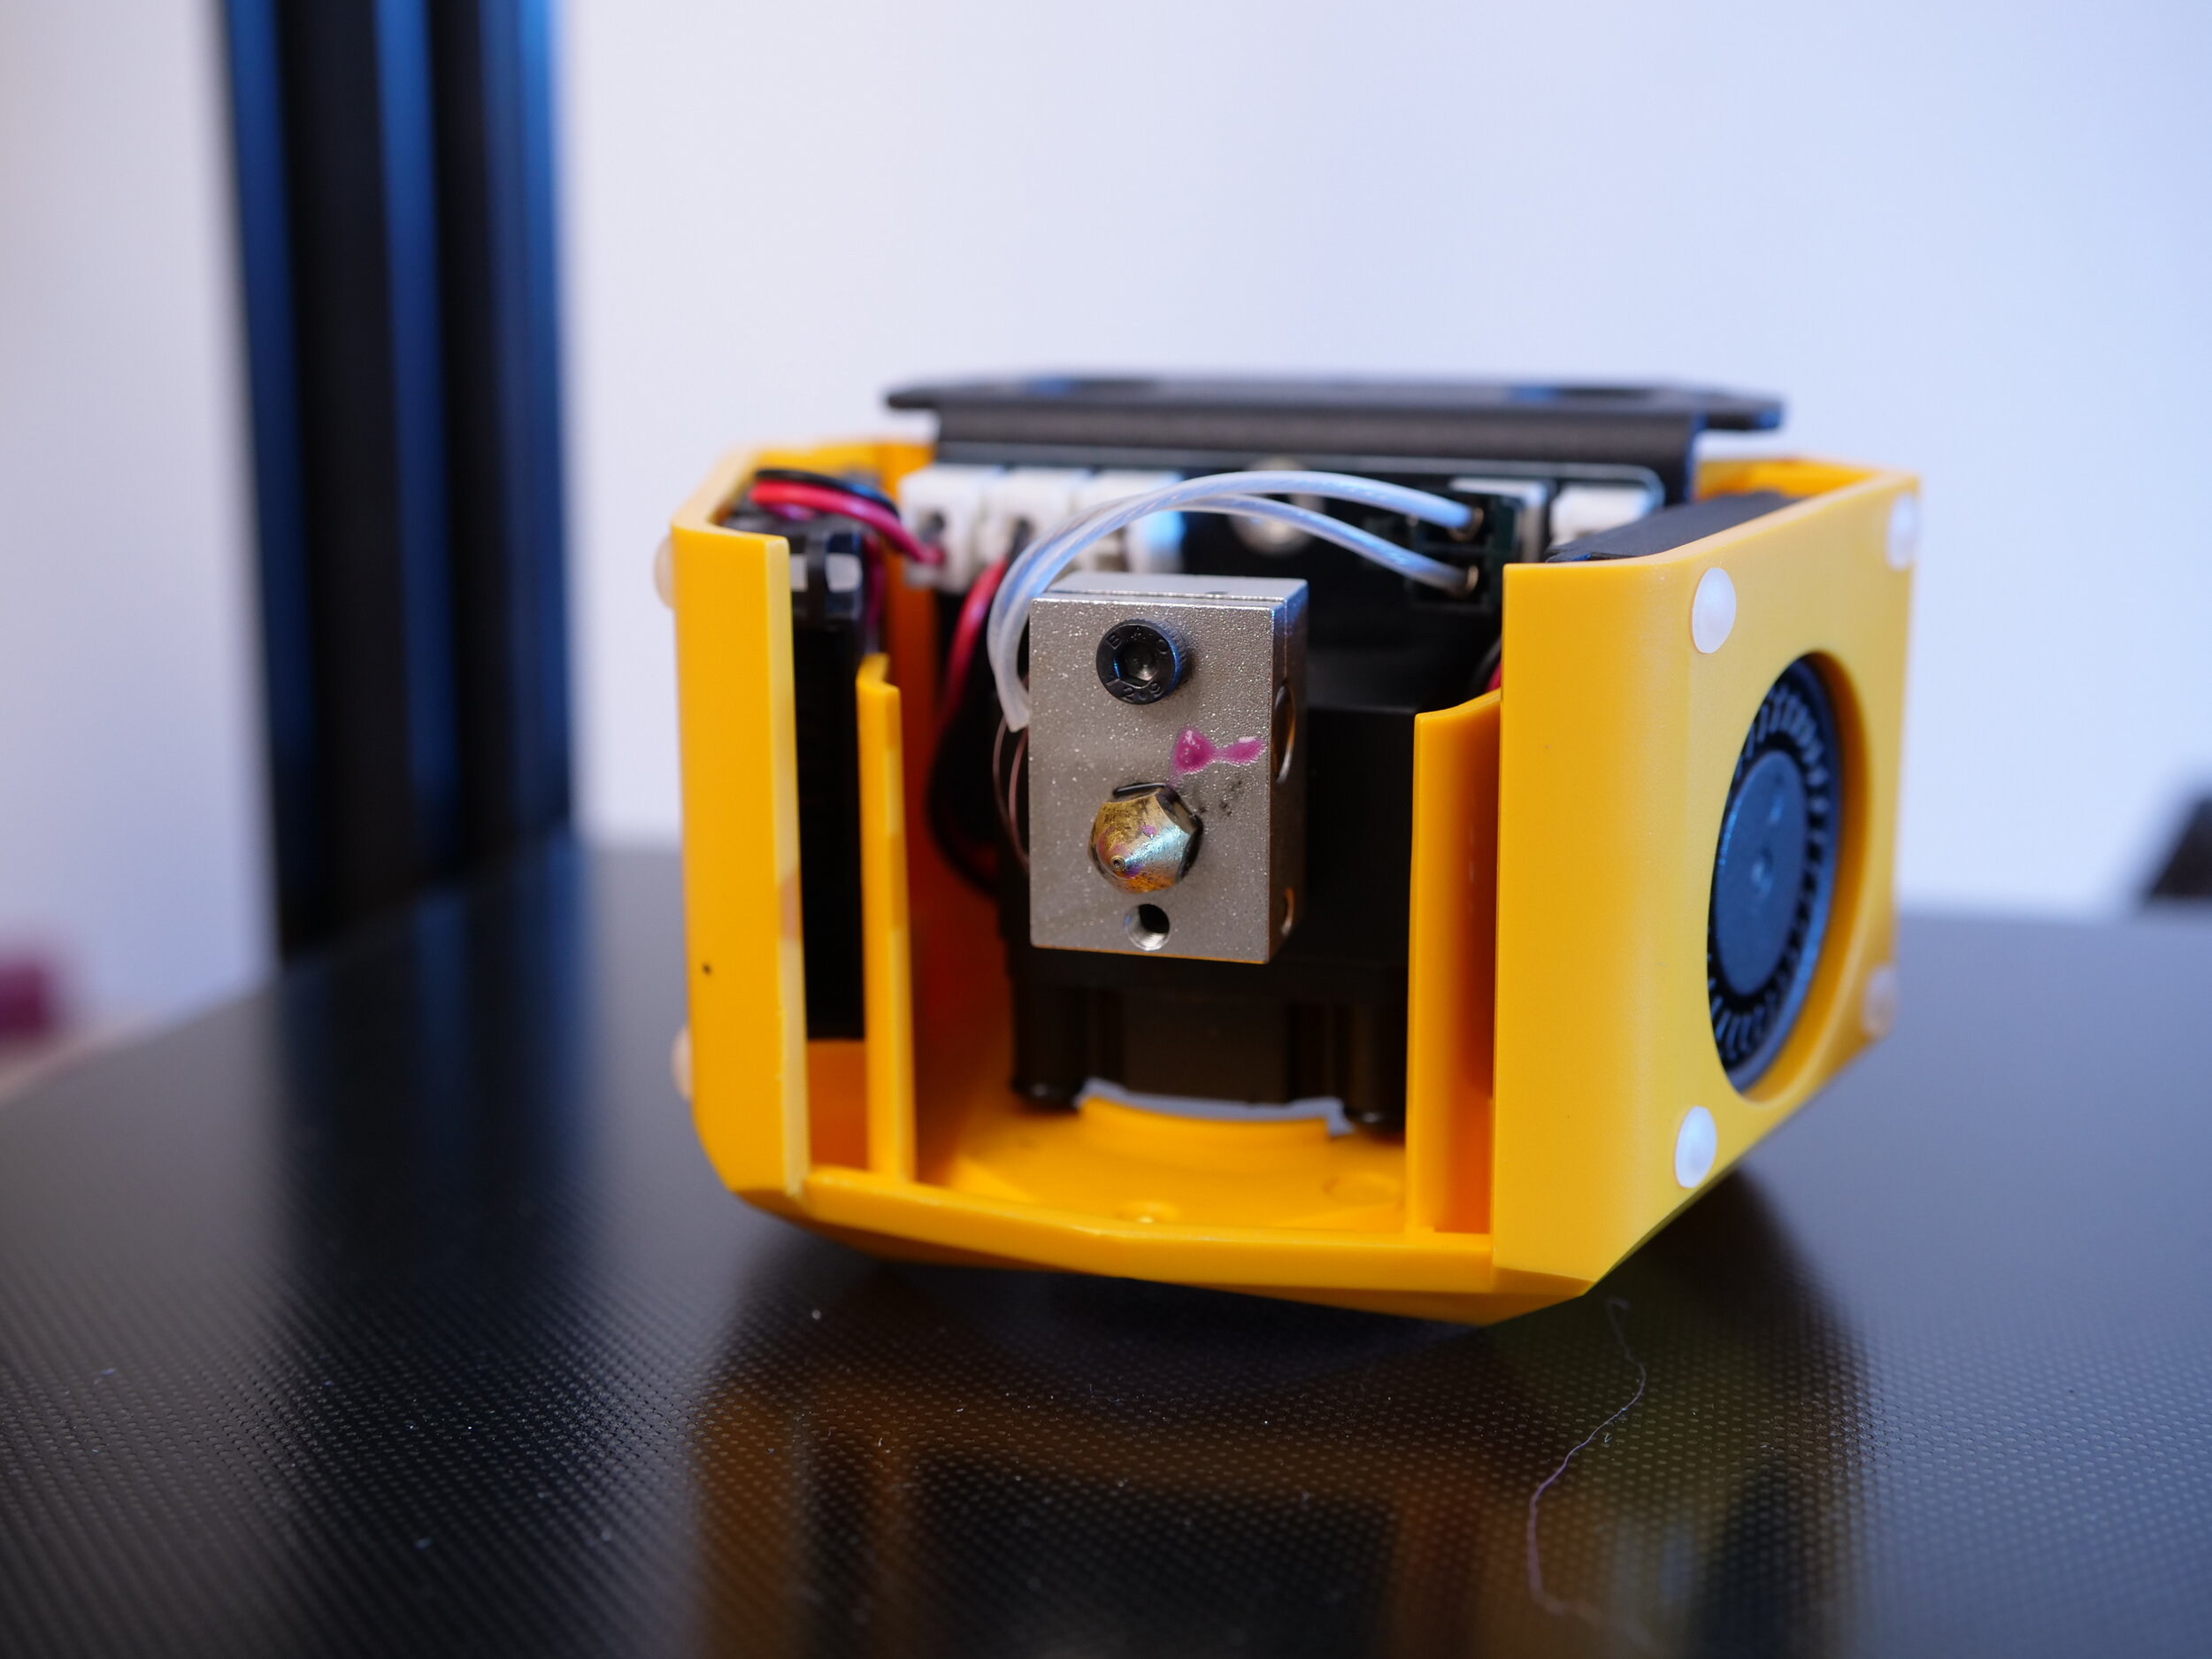
Quiet hotend setup with a temperature controlled 30 mm cooling fan in the middle and two 40 mm blower fans on the side for part cooling
Pros- and Cons
👍 Reasonable price
👍 Easy assembly
👍 Very nice and cleanly looking
👍 State of the art components
👍 Quiet
👍 Good print quality
👎 Custom cable might be hard to replace
👎 No filament run-out sensor
👎 No bed leveling sensor
Verdict

The Artillery Hornet shows again that Artillery is not just another generic 3D printer manufacturer from Shenzhen. They really put some thought into the Hornet to not only make it look different to other printers of that price range but again show innovation in terms of wire management. The machine is easy to build and comes with enough instructions to even get a beginner going. During operation, the Hornet seems to be quiet and consistent which also shows in great print results. From all that I’ve so far done with the machine I can seriously encourage you to take a closer look at it if you’re searching for a state-of-the-art entry-level 3D printer that doesn’t need tinkering to get it started, is an eye-catcher and will hopefully serve you well over the years.
If you have any questions, please post them below the YouTube video and I’ll try to answer them!
You can check current prices using my Affiliate Linke that support my work:
AliExpress: https://geni.us/8NBW
Banggood: https://geni.us/z91Zg3D
Amazon: https://geni.us/PY1ff